


Quick Summary:
Cold weather can catch worm composters off guard. As temperatures dip in late November, worm bins need protection, especially if they’re outdoors or in unheated spaces. In this article, you’ll learn five essential steps to winterize your worm bin, prevent die-offs, and keep your composting system thriving until spring.
As the last of the leaves fall and the air turns crisp, your worm bin is going through changes, too. Whether you compost on a balcony, in a shed, or inside a cozy basement, it’s time to help your worms transition into winter mode.
This guide is especially helpful if:
- You keep your worm bin outdoors or in an unheated space like a garage or porch.
- You live in a region with cold winters and occasional freezes.
- You’ve been feeding your worms regularly through fall and want to avoid a winter crash.
Let’s dig into five smart, practical moves to get your worms winter-ready.
1. Move It or Insulate It
If your worm bin is currently outside, now is the time to decide: bring it in, or build it a winter coat.
Moving indoors? Ideal spots include:
- Basement
- Laundry room
- Heated garage or mudroom
Worms thrive in temperatures between 55°F and 77°F. Below 40°F, they slow down dramatically, and freezing temperatures can kill them.
Can’t bring it indoors? Then insulate it well. Try:
- Wrapping the bin in bubble wrap or insulating foam
- Placing straw or shredded leaves around the bin
- Nesting the bin inside a larger container with dry insulation material in between
Even just moving the bin against a house wall or under a covered porch can help buffer against deep cold.
Source: University of Illinois Extension
2. Slow Down the Feeding
Worms are cold-blooded, and like most decomposers, their activity slows as temperatures drop. What does that mean for you?
- Reduce feeding frequency (once a week may be plenty)
- Chop scraps smaller to make them easier to digest
- Avoid smelly or protein-rich foods (meat, dairy, cooked oily leftovers)
Stick to fruit and veggie scraps in moderation. Bury each feeding beneath a few inches of bedding to avoid attracting pests.
What Can You Feed Your Composting Worms?
3. Add a Warm Bedding Layer
In colder months, bedding does double duty: it serves as food and insulation.
Top off your bin with 3–5 inches of dry carbon-rich materials like:
- Shredded cardboard or newspaper
- Dry leaves (crushed)
- Coconut coir
This keeps warmth in and moisture balanced. Avoid wet bedding, which will cool the bin and reduce oxygen flow.
Worm Food & Bedding (3-Month Supply)
Worm Bin Conditioner
4. Check Drainage and Airflow
Cold weather slows evaporation. That means excess moisture can build up in your bin, especially if it’s closed or plastic.
Tips:
- Make sure drainage holes aren’t blocked
- Use a tray underneath to catch leachate, and empty it regularly
- Check that ventilation holes aren’t covered or iced over
Source: Cornell Waste Management Institute
5. Optional: Harvest or Start a Second Bin
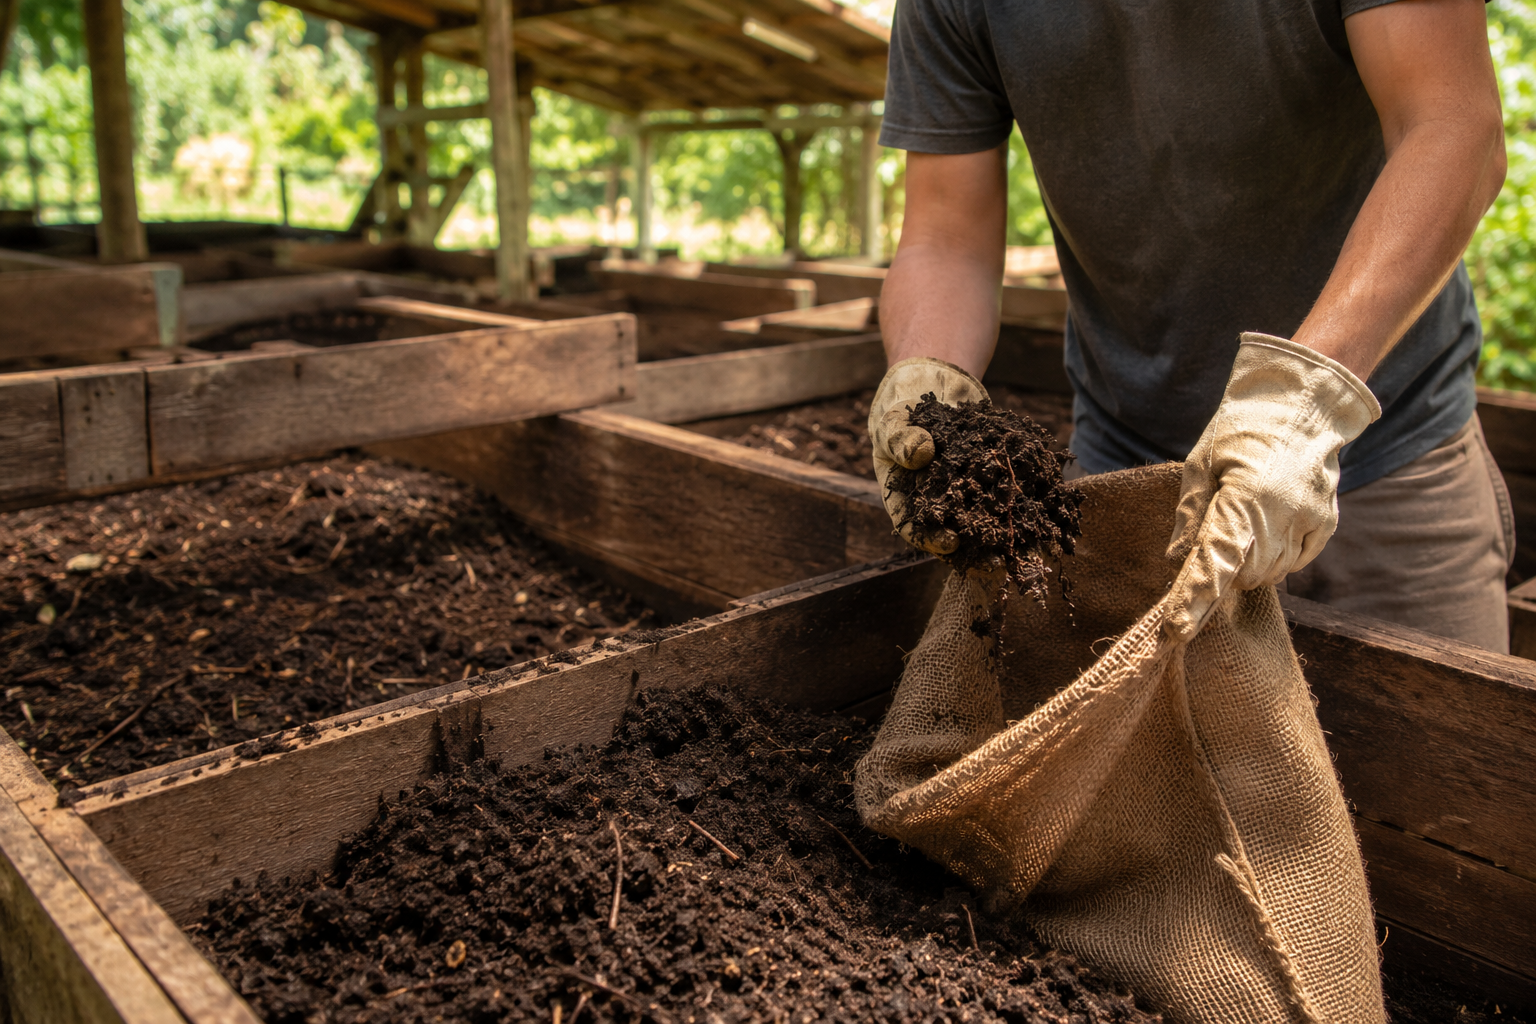
Late fall is a great time to harvest finished castings if your bin is full.
Here’s why:
- You’ll lighten the load, which reduces stress on the worms
- A fresh layer of bedding gives them a warm, clean space to settle in for winter
If your worms are thriving, consider starting a second indoor bin. It spreads the population and protects against losses if one bin has problems.
Beginner’s Guide to Vermicomposting
What to expect?
Cold weather doesn’t have to mean composting stops. By making a few smart moves now, your worms can keep working all winter long. For more cold-season tips, explore these helpful articles:
- How to Keep Pests Out of Your Worm Bin
- How to Feed Composting Worms Indoors
- Indoor Worm Farming: Winter Tips
Or grab what you need to prep your bin for the season:
About the Author/product/composting-worms/250-composting-worms/
Jim Shaw is the founder of Uncle Jim’s Worm Farm and has been a passionate advocate for vermiculture for over 40 years. From his family-run farm in rural Pennsylvania, Jim ships live composting worms and worm farming supplies to homes, schools, and gardens across North America. His mission: make composting easy, effective, and fun for everyone. Read more articles ›

11 thoughts on “Worm Bin Winter Prep: 5 Smart Moves Before the First Freeze”
Really helpful tips! Winter prep can be intimidating, but this breaks it down clearly and makes it much easier to protect a worm bin before the cold sets in.
If your worms are thriving, consider starting a second indoor bin. It spreads the population and protects against losses if one bin has problems.
I found these winter prep tips really practical, perfect reminder to get my worm bin ready before the cold hits!
I found these winter prep tips really practical, perfect reminder to get my worm bin ready before the cold hits!
Preparing before the first freeze can make a big difference, especially with insulation and moisture management.
Great tips for winterizing the worm bin! It’s amazing how much a little prep can help. Speaking of smooth operations, have you seen this free VEED background remover alternative? Die kostenlose VEED Hintergrund entfernen Alternative
I moved my bin into the garage last winter, but I didn’t realize how much the drop in feeding frequency mattered until the bedding started getting too damp. Moving the bin away from the drafty door and dialing back the scraps before the first frost made a huge difference for my Red Wigglers.
My first winter I have outdoor bin 3 ft deep goes below frost line open bottom insulated around sides with a insulation cover tucked in next to house and around sides of deck well protected from winter weather any other ideas on what to do would be appreciated thanks
I have a special light weight cover (Amazon) that lets water in, keeps cold out. I’ve used it for 2 yrs, and my worms survived in my open air pile. Even snow doesn’t hurt them. On warmish winter days, I uncover them.
I have multiple in ground chambers. Is there something else I should do for this type of vermi composting? I assume I should reduce the feedings and add additional bedding layer. Anything else?
I just moved almost all of my worms to a garden bed made with 2x10s stacked two high. It wasn’t filled this year for plants. I had all of my worms inside black plastic Home Depot containers with the yellow lids, they’re a PITA. So decided to just dump my worms into the raised bed, I may use some styrofoam on the outside of the bed where they’re at. And add some hay or something. I do not have a shredder for cardboard. I would like one. I’m wondering, because I do have 3 or 4 seedling heat mats, may use those, try to tuck them underneath the pile, using an inkbird temp controller. I live on Cape Cod, MA. The winters are pretty brutal depending. I was surprised my worms made it last year. (I know they lay cocoons). I did however take the giant bin and dig a hole in the ground and placed it in the hole then put a ton of pine needles over it and left them for the winter. Idk if you can reply here, but if anyone has tips on my setup plz lmk. Thank you.