


If you are new to composting with worms, you will need a composter to house the bedding, worms and food scraps. The worms will usually stay put if you provide a secure abode for them to live in. They love dark, moist bedding and regular feedings of food scraps. After the worms have eaten scraps for a few months, you will be able to harvest the finished compost and use it on your garden, lawn, and indoor plants.
Uncle Jim made this video about building a simple composter in just 10 minutes. It uses chicken wire, poles, and a bag of Red Worms from Uncle Jim’s Worm Farm. Watch it here:
Condensed Transcript:
Hi, I’m Jim from Uncle Jim’s Worm Farm. Practically every day I get the question, ‘How do I start a compost pile?’ Your worms are going to come to you in a breathable bag. They could stay in this bag up to five days. I suggest when you receive the bag shake it (gently). They are packed in extremely dry peat moss. We found over the years that dry peat moss is the best culture to make sure the worms arrive to you alive. The worms might have lost as much as three-quarters of their body weight. They might look a little scrawny but, especially in bitter cold or extremely hot weather, the dry peat moss is what we pack them in.
Getting back to the compost pile, I’m here to show you exactly how easy it is to compost. I’m going to start with a few inexpensive items. You could do this anywhere in the country whether you are in New York City, Chicago, Los Angeles or a farm somewhere in Illinois. It doesn’t matter how old you are or who you are. Anybody can compost. It’s expensive. It’s fun. You can come right into it. You need no education other than this video. Let’s get started.
Go to your local Lowe’s or your hardware store. This chicken wire mesh roll is 25 feet long by three feet wide. In this particular compost pile, I’ve got a few (metal) posts that I picked up on the farm. I actually got these out of our barn. They’re about three feet long. I’m only going to have to put them in the ground about four to five inches. I’ve got a little bit of strength. I’ve got a hammer. And I’m ready to go!
I take my posts, and I just bang them into the ground. It doesn’t take any extra strength all. I suggest probably find an area that’s not too rocky. For the most part, this is very easy. If you’d like to purchase these posts, I believe they’re about two dollars and fifty cents apiece at your local hardware store.
I am making a small compost pile that literally should not take more than five minutes to make. You can make this any size you’d like. A rectangle, square, circle, anything you’d like. In this particular area, I have the posts about two and a half feet apart, and it’s a square.
I grab my chicken wire. I very easily just put it around (the posts). The chicken wire has two purposes:
- It holds together your compost pile.
- It also makes sure everything is aerated in your compost piles. All the air is flowing through very nicely.
I have my four posts. I have my chicken wire, but I suggest you just get a piece of string or a little bit of twine. Go around each post. Take a minute and simply make a couple knots and that way it’s fairly secure. It’s not going to blow away in a gust of wind or anything like that.
Now my compost material. In this example, you can pick this up in the park. You can pick up it on your lawn. It’s twigs. It’s leaves. Stuff that just comes out of your lawn. I just bring it over. I simply dump it in. Again, anybody could do this. Any age. Anybody.
Let’s say you have a small piece of land or you’re in the city and you don’t have much of a backyard. You could probably rake up a small area of your local park and fill a few of these bags. All you’d need is an area about two foot by two foot, and you’re a professional gardener.
 In this particular compost pile, I have leaves, twigs, and pieces of paper that I raked up. We’re ready to go. I’m started. I’m a professional composter. That did not take me more than three minutes to put together.
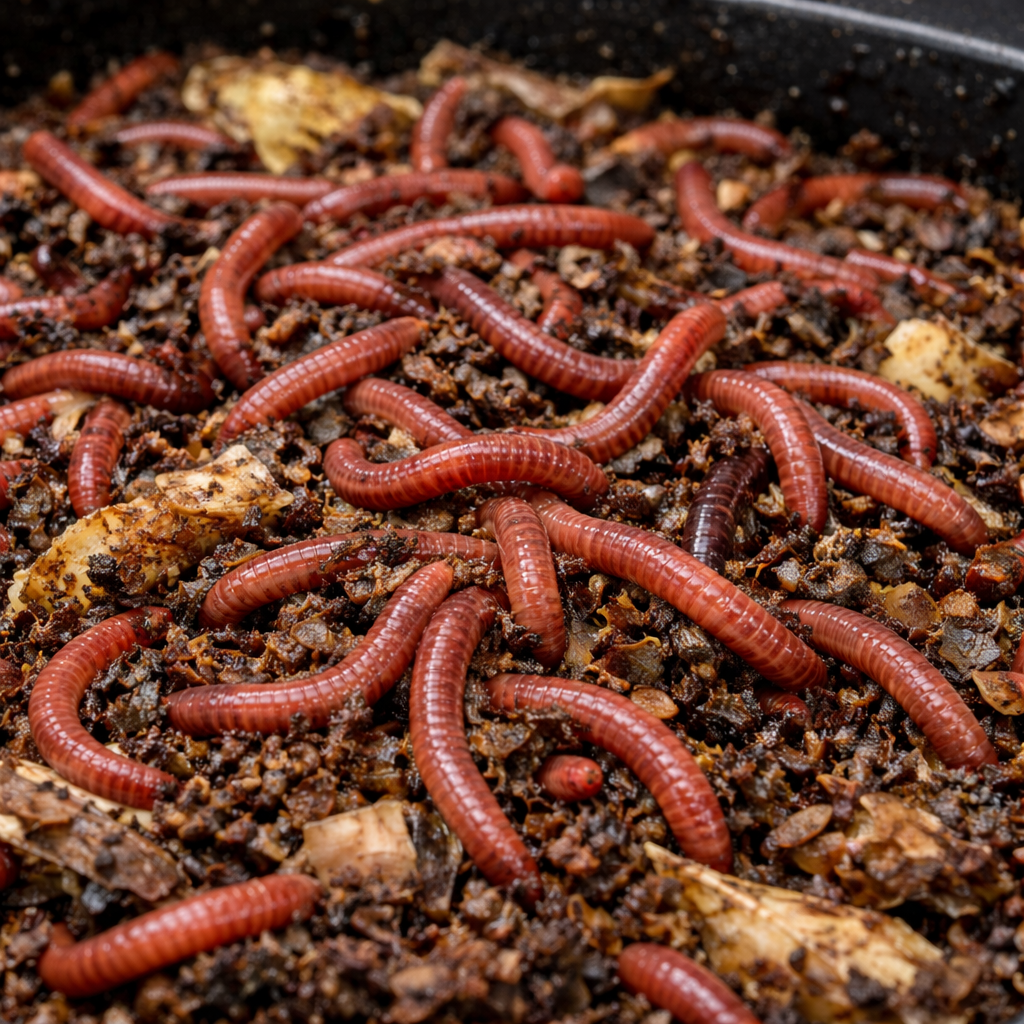
Now what roles do the worms play? The worms love to eat and chow down these leaves. As they’re doing that, they’re leaving behind what we call castings. It’s a nutrient-rich soil. Forget about your fertilizers. Forget about your additives. These worms will naturally decompose all of this over time and also add nutrients.
I like to [pour water] right in the middle of the pile. This is a half a gallon jug. I’m just giving a little example. Make it nice and moist.
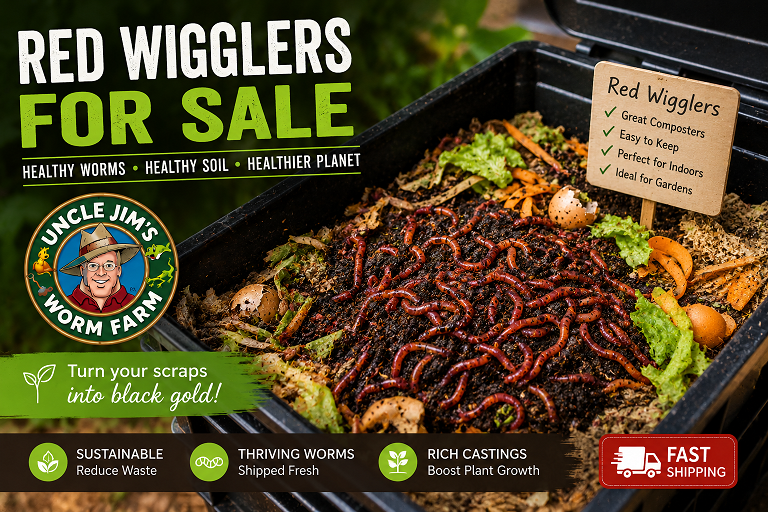
Now this particular [composting] worm is a Red Worm (Red Wiggler). Plain and simple, these are the best composting worms you could buy. They love to stay in the top three inches of the soil but they also love leaves. This is unlike a European night crawler (Super Red) which tends to aerate more and go deeper. The Red Wiggler loves leaves and decomposing matter. Click to see other types of bedding options.
I’ve just received my worms. I put together my pile. What I’d like to do now is just dump them right on top. Right on top. I’m not going to mix the worms in. I’m going to let the worms find out where they want to go. So for right now we’re going to leave them as is and will be back in about three minutes.
OK, we’re back. I’d like to add, as far as a compost pile is concerned, it could be started at any time of the year: the spring, the fall, coming out of the winter or close to the winter. Because the compost pile of leaves itself develops enough heat in the winter where the worms will find out where to survive (or they may lay eggs that survive). It doesn’t matter. This is not just a spring project. It could be a project that you can enjoy year-round.
Let’s get back to our worms. It’s been 2 to 3 minutes. You can see, for the most part with the exception just a few, they’ve already gone down. They’ve already been acclimated to their home.
You are now in the worm composting business. Now what I like to do is give a little extra additive. Once I know they’ve gone down, I’ll add a little cornmeal. They love cornmeal. This is where you could get rid of all your organic household waste. You can just place it right here: your banana peels, your potatoes, whatever you have coming off the plate (except meat, dairy, fats and oils – see “Finding the Right Mix of Food for Your Composting Worms.”) What I suggest is just make sure [the compost bedding is] moist. You should be in business.
I just wanted to make sure everyone realizes how easy it is to compost and how inexpensive it is. Twenty-five feet of chicken mesh, three feet high, runs about twenty-five dollars. Four poles: you can find them in your garage or your yard. You could actually even use sticks if you wanted. Two to three dollars for a pole. A little bit of strength. A few pennies. Borrow your neighbor’s hammer. Get some leaves out of your yard, order some worms, and you’re involved in worm composting.
I’d like to thank you. God bless.
Other Types of Composters
If you don’t want to make a chicken wire composter, you can make your own composter from a tote or scrap lumber. Or buy a composter. Uncle Jim’s recommends a composter that uses stackable trays. The trays make harvesting finished compost very easy. And they are simple to expand. Examples include the Worm Factory 360, Worm Cafe and Can-O-Worms.
Red worms are best for composting. Uncle Jim has been producing worms on his farm in Pennsylvania for over 30 years. Click to order Red Worms. We also carry Super Reds for aeration and fertilizing, and mealworms for pet food and science experiments.


10 thoughts on “Quick & Easy Chicken Wire Composter”
That looks like a sure winner compost endeavor.
QUESTION: I am here in northern Indian and we have some pretty cold winters. And I do not have a place or building where I could put them to ensure the survival of any worms I might want to purchase from you. How would I protect the worms against such freezing temperatures such as we have here — down to the teens or worse?
I currently have both a barrel that I can turn by handle, and I have another commercial stationary one. Both of them serve for vegetable waste only. It appears that few warms survived in there through the winter.
Can you add coffee grounds to the mixture?
Excellent information I just moved to Yavapai hills AZ, retired after 48 yes working, I will start my compost with chicken wire outside my back yard,my visitors daily are deers and jabalinas, how can I protect this compost.?, thank you Alicia
Thank you for this article! This is really very informative for us. I agree with you totally. It gives some true and insightful information on best how make chicken wire composter. Great blog to share!! Do visit this Dukeswiremesh.com For vital information that can be used again by anyone.
Hello,
I purchased Red Wigglers from you a couple years ago – the population has expanded. Up until now, I have kept them inside, but would really like to move them outside now. Came to your website to learn about keeping them cool in the summer ( I live in Calif – can have many consecutive daytime high of 100+ degrees in the summertime! ).
I am considering releasing them into my raised beds – need to research how to do this before moving forward. Since the vegetables will need consistent watering (we have a drip system), I am concerned it will be too wet for my precious little guys – so again…more research first!
In the meantime, I just saw this video about the chicken wire composter and thought it would be fun to do this, as well….We have huge trees on our property – so we have abundant leaves on the ground throughout the Fall / Winter.
A couple questions:
1. What is the best way to harvest the worm castings from the pile of leaves? Do the casting fall down to the bottom? If yes, then I would imagine you could raise the chicken wire at the bottom, then scrape the earth from the bottom into a pile, then screen to capture the fine castings. If they don’t fall to the bottom, can you give an idea how to collect the castings?
2. How often should you water the leaves and is it necessary to gently turn / mix the leaves? I actually wondering if it would be beneficial to dunk leaves into a bin of water before adding to the compost bin, for even moisture. I also wondered if this method would easily dry out in the summertime in my climate (Calif – 100+ degrees)
Thank you for your website and informative videos!
This is simple, cheap and perfect! I will put this together this weekend. One question. Will native worms find their way there anyway. My compost pile that has no bin as of yet, but there are plenty of worms.
Native worms can find their way into compost piles that are in the open yard. They usually do not do any harm but help in the process.
Uncle Jim’s Worm Farm
1. What is the best way to harvest the worm castings from the pile of leaves? Do the casting fall down to the bottom? If yes, then I would imagine you could raise the chicken wire at the bottom, then scrape the earth from the bottom into a pile, then screen to capture the fine castings. If they don’t fall to the bottom, can you give an idea how to collect the castings?
Yes, that is pretty much what you can do with the wire leaf composter. The Heavier compost will fall to the bottom, castings are dense and heavy.
Uncle Jim’s Worm Farm
I love the idea of using chicken wire for a composter! It’s such a simple solution that looks great in the garden. I can’t wait to try this out and see how it improves my composting process. Thanks for sharing these tips!