


Quick Summary (TL;DR): As nights cool, aim to keep bedding between 55–77°F, refresh carbon-rich bedding (dry leaves + cardboard + coco coir), feed smaller, chopped portions, and either insulate outdoor bins or move indoors. Add a breathable worm blanket, monitor moisture so it feels like a wrung-out sponge, and check your bin weekly.

Why Fall Prep Matters (and Why Now)
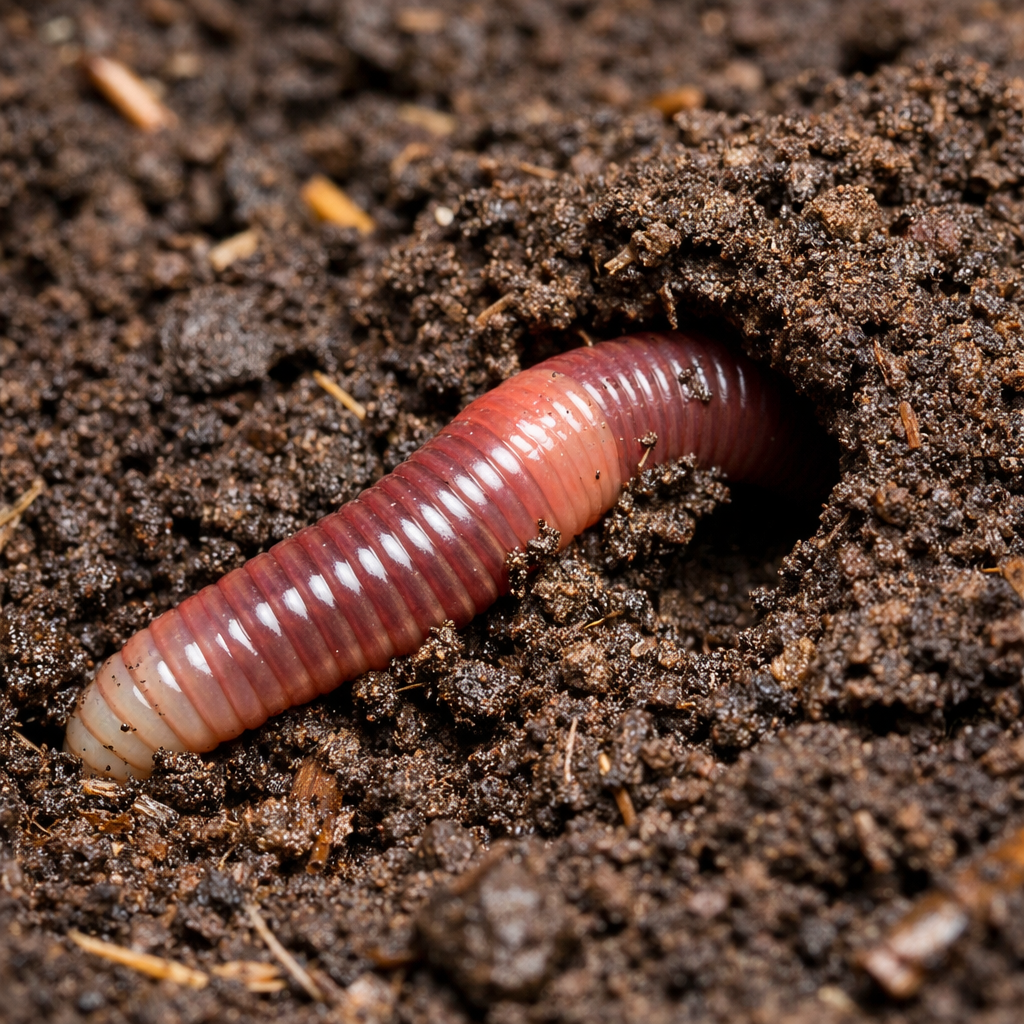
When temperatures slide in late October and November, compost worms (especially Eisenia fetida, aka red wigglers) slow down, eat less, and reproduce more slowly. Left unmanaged, cold snaps and wet weather can cause odors, pests, or—worst case—worm loss. The good news: a few intentional tweaks now keep castings flowing and your colony thriving all winter.
Already started some fall maintenance? Great. Use this guide as a power-up. If you’re brand new to worm composting, bookmark our beginner pillars for later reading:
• Home Vermicomposting Guide and
• Worm Farming for Beginners.
“Fall Prepping: How to Transition Your Worm Bin from Summer to Cool Weather.”
The article below goes deeper with step-by-step details, tools, and troubleshooting.
The 5-Step Fall Worm Bin Plan
Step 1 — Lock in Temperature & Location (Target 55–77°F)
Red wigglers are most active in the 55–77°F bedding range. Below that range they slow down; near freezing, they can die. If you keep a bin outdoors, consider moving it to a garage, shed, or covered porch. For indoor setups, basements and utility rooms are ideal.
- Tools: Compost thermometer; breathable worm blanket; optional rigid foam board.
- Pro move: Raise the bin on bricks/pallets to reduce wicking and cold transfer from the ground.
- Products to consider: Uncle Jim’s Double Tray Worm Composter,
worm blankets & bedding.
Step 2 — Add Smart Insulation (Without Suffocating the Bin)
Cold air is less of a problem than rapid temperature swings. Surround the bin (not block the vents) with straw bales, bagged leaves, or foam board. Inside, lay a breathable blanket directly over the bedding to hold warmth and reduce moisture loss.
- Wrap sides with straw bales or leaf bags and leave vents clear.
- Top with a breathable cover; avoid plastic sheets pressed directly on bedding.
- Check the bedding temperature 1–2×/week and adjust insulation as needed.
Step 3 — Refresh Bedding with Fall “Browns”
Fall is carbon season! Dry leaves are perfect for balancing food scraps (“greens”), absorbing excess moisture, and buffering pH.
- Mix (by volume): 40% shredded brown leaves, 40% non-glossy cardboard/paper, 20% coco coir.
- Moisture check: Soak dry materials, then wring to a wrung-out sponge feel. No dripping.
- Depth: Maintain 6–10 inches of fluffy bedding; add a fresh 2–3 inches on top after feedings.
- Options: Worm Ranch Bedding or
Worm Hobby Bedding.
Step 4 — Shift to Cold-Weather Feeding
As temps drop, microbes slow and scraps break down more slowly. Prevent odors and pests by feeding smaller, chopped portions and letting scraps thaw before adding.
- Feed less, more often; bury food beneath 1–2 inches of bedding.
- Pre-chop or pulse scraps in a blender for faster uptake.
- Add a sprinkle of ground eggshells (grit) and keep the top layer dry with leaves.
- Skip heavy citrus loads, greasy foods, and salty items. See:
How to Feed Indoor Composting Worms. - Stock up on a balanced feed if your kitchen scraps fluctuate:
3-Month Feed Supply.
Step 5 — Create a Simple Weekly “Worm Bin Health” Routine
A 5-minute check once a week prevents 95% of problems:
- Temperature: 55–77°F sweet spot. Adjust insulation/location if out of range.
- Moisture: Handful test should feel like a wrung-out sponge. Too wet? Mix in dry leaves/cardboard. Too dry? Lightly mist & fluff.
- Gas exchange: Fluff top 2–3 inches to improve airflow; keep vents clear.
- Food balance: If you still see last week’s food, pause feeding and add dry bedding on top.
- Critter scan: If you spot mites/flies, increase dry cover and reduce feeding; see pest guide below.
Fall Materials & Tools Checklist
- Thermometer, spray bottle, scoop or small rake
- Brown leaves, cardboard, coco coir, dry paper
- Worm blanket; breathable cover; insulation (straw bales or foam)
- Optional conditioner for pH/odor control:
Composter & Worm Farm Conditioner
Try a ready-to-go kit with bedding, feed, and worms:
- Worm Farm Kit
- Worm Bin Starter/Refill Kit
- Live worms (cold-ready shipping): 1000 Red Composting Worm Mix
Using Fall Leaves the Smart Way
Leaves are carbon gold. Shred them (mower works great), then pre-moisten before adding. Mix with cardboard for structure, and top-dress a thin layer after each feed to deter flies and keep odors down.
What about pine needles and oak leaves?
They’re fine in moderation; shred well and mix with neutral materials (coir/cardboard). Keep plenty of diversity in your “browns” to buffer pH.
Troubleshooting Common Fall Problems
“My bin smells sour.”
Likely cause: Overfeeding or excess moisture. Fix: Remove any uneaten food, add a 1–2 inch layer of dry leaves/cardboard, fluff for airflow, and reduce feed volume for a week.
“Worms are hiding deep and eating less.”
Likely cause: Bedding too cold or too dry on top. Fix: Increase insulation, lightly mist, and add a breathable blanket.
“I’m seeing mites or mold.”
Likely cause: Cool + damp + excess food. Fix: Thin food layer, add dry bedding cap, fluff more often; see
Worm Bin Pest Control for detailed steps.
“Should I move the bin indoors?”
If your area dips near freezing, bringing a compact system inside is often easiest. See:
Indoor Worm Farm Setup. If you must stay outside, insulate heavily, keep it dry, and monitor bedding temps twice weekly.
Science Corner: Safe Ranges & Best Practices
- Ideal bedding temperature: roughly 55–77°F for active red wigglers; they survive wider ranges but slow down below the 50s.
(University of Illinois Extension;
US EPA) - Moisture: Bedding should feel like a wrung-out sponge. Avoid flooding and compacted, airless bedding.
(Oklahoma State University Extension;
Utah State University Extension) - Insulation tips: For outdoor bins, add straw/blankets/leaf bags around the bin to reduce heat loss.
(USDA) - Food balance: Feed small amounts, chop scraps, and keep a dry leaf/cardboard cap to deter flies and odors.
(US EPA)
FAQ: Fall & Winter Worm Care
What’s the minimum safe temperature for my worms?
Try not to let bedding drop below the low 50s°F for long periods. Activity slows below that, and near-freezing can be fatal. Insulate or move the bin inside a garage/basement if needed. (Illinois Extension)
How often should I feed in cold weather?
Start with half your summer amount and reassess weekly. Don’t add new food until the previous feeding is mostly gone.
Can I add fresh lawn leaves directly?
Yes—if they’re dry and shredded. Pre-moisten and mix with cardboard/coir to keep the bedding fluffy and breathable.
Is a heating pad necessary?
Usually no. Insulation + stable indoor location is enough. If you do use heat, keep it low and indirect, and monitor with a thermometer to avoid hot spots.
When should I harvest castings before winter?
If the bin is more than ~2/3 full, harvest now to make room for winter feeding. Keep a portion of mature castings to “inoculate” fresh bedding with microbes.
What’s Next?
If you want a simple, low-risk winter routine, consider an indoor tray system and a measured feed. Our team ships year-round with careful packing. Get set up here:
Or keep exploring techniques and seasonal tips on the blog:
Pest Control •
DIY Worm Bin •
Beginner Guide
About the Author
Jim Shaw is the founder of Uncle Jim’s Worm Farm and a leading voice in vermiculture for 40+ years. His farm supplies composting worms and gear to households, schools, and farms nationwide. Read more articles.


2 thoughts on “How to Prepare Your Worm Bin for Fall: 5 Steps to Keep Worms Healthy in Cold Weather”
Hello,im not sure what to buy. I’m new to worms it looks easy with a little work this will be a out door bin system im sure my wife would not want worms in the house. We’re do I start?
With exhilarating one-on-one and multiplayer games, Basketball Stars is an entertaining sports game that allows players to experience the fast-paced action of street basketball. With its realistic basketball mechanics, easy controls, and competitive action, the game has gained popularity among both casual players and sports fans.
basketball stars