
Summer is winding down, but there’s still time to turn a steady bin into a thriving nursery. Use these practical steps to help Red Wigglers reproduce quickly and keep your castings flowing.
Quick Summary (TL;DR)
- Best range for Red Wigglers: 55–77°F bedding; avoid sustained heat above the mid-80s.
- Moisture: Wrung-out sponge feel (~60–80%). Keep bedding springy and aerated.
- Timeline: Cocoons can hatch in a few weeks; many bins see population doubling in ~60–90 days when conditions are right.
- Keys to speed: shallow, roomy bin; small-and-often feedings; grit (eggshell); regular harvesting to prevent compaction.
Why focus on reproduction now?
Late-summer bins face heat spikes, moisture swings, and the occasional pests. When you stabilize temperature, moisture, and airflow, Red Wigglers reliably mate, lay cocoons, and hatch new workers—so scraps disappear and finished castings keep coming.
How worm reproduction works
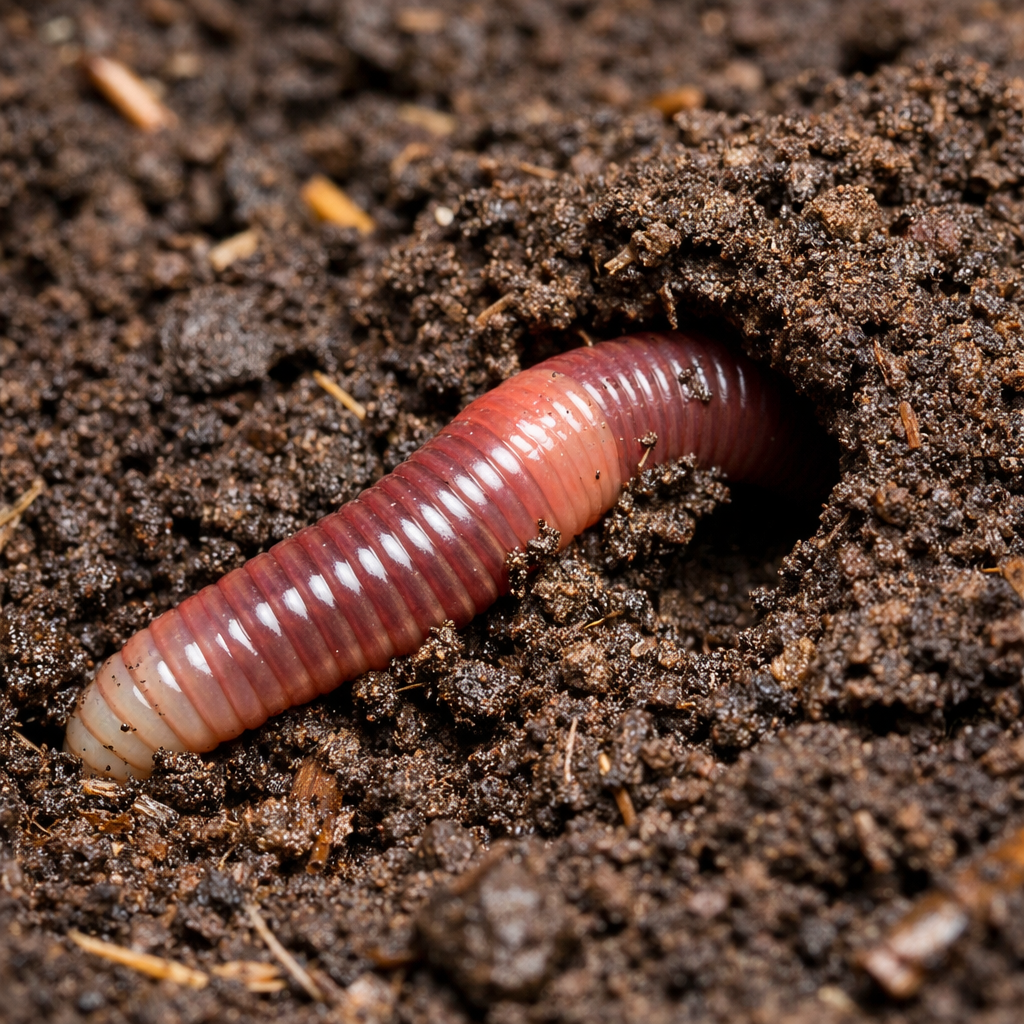
Red Wigglers (Eisenia fetida) are hermaphrodites but still need a partner. After mating, each produces lemon-shaped cocoons in the bedding. With comfortable conditions, cocoons hatch in weeks. Juveniles grow into breeding adults soon after, and population growth accelerates.
Cheat Sheet — Ideal Conditions
- Temperature: 55–77°F sweet spot; protect from >85°F
- Moisture: like a wrung-out sponge (no pooling water)
- Feeding: small, frequent, chopped; always cover with bedding
- pH: close to neutral; buffer acids with fine eggshell
- Airflow: fluffy bedding; avoid compaction
- Darkness: keep covered; minimize disturbance
Set up a breeder-friendly bin (step-by-step)
- Choose a roomy, shallow habitat. More surface area = more grazing and cocoon sites. Explore Indoor Compost Bins and complete Worm Kits.
- Build airy bedding. Mix moistened shredded cardboard/newspaper with a handful of Starter & Bedding blend. Texture should spring back when squeezed.
- Dial moisture to “wrung-out sponge.” Pre-soak, squeeze hard, then fluff. If it drips freely, add dry shreds; if dusty, mist lightly.
- Park it in the comfort zone. Indoors or shaded garage is ideal. In hot spells, rotate frozen water bottles (wrapped in newspaper) on top and review How to Keep Worm Bins Cool This Summer: 7 Heat Shield Hacks.
- Feed small and often. Start ~1–2 cups chopped scraps per lb of worms, 2–3x/week. Cover each feeding with fresh bedding. A pinch of our worm feed evens out swings.
- Buffer acidity with grit. Fine crushed eggshell supports digestion and cocoon output; sprinkle ~1 Tbsp per feeding area.
- Harvest on a rhythm. Every 6–8 weeks, remove finished castings to relieve compaction, boost airflow, and create fresh nursery space. New to it? See DIY Worm Bin – How To Do It Right.
- Limit disruptions. Quick peeks are fine; constant stirring stresses breeders.
12 proven tips to multiply faster
- Go wide, not deep. Two shallow trays beat one deep tote for reproduction.
- Use a breathable cover. A worm blanket (included in several kits) holds moisture while allowing air.
- Pre-process scraps. Chop/blend or freeze-thaw to speed microbial action.
- Spot-feed. Several small feeding zones reduce crowding stress.
- Don’t skip grit. Eggshell powder aids digestion and cocoon output.
- Heat playbook. Shade, airflow, and ice bottles when bedding creeps into the 80s°F.
- Greens + browns. Always cap fresh food with dry bedding for moisture/odor control.
- Pick species for goals. Red Wigglers for indoor bins; add European Nightcrawlers if you also want durable fishing bait.
- Split thriving bins. When cocoons and juveniles abound, divide before overcrowding stalls breeding.
- Low-stress harvest. Use cone or light migration to separate castings without over-handling.
- Block pests. Lid on, bury food, wipe rims. Full guide: Worm Bin Pest Control.
- Scale with a head start. Consider the Worm Farm Kit or Worm Ranch Kit to reach a self-sustaining population sooner.
What to expect (realistic benchmarks)
- Weeks 0–2: Settling period; prioritize moisture and temperature stability.
- Weeks 3–6: First cocoons appear; add light grit weekly; keep feedings modest.
- Weeks 6–10: Juveniles visible; population ramps; consider adding a second tray.
- Months 2–3: Many bins can double populations within ~60–90 days under ideal conditions.
Troubleshooting: “Why aren’t my worms breeding?”
| Symptom | Likely cause | Quick fix |
|---|---|---|
| No cocoons/juveniles | Too hot/cold; soggy or compacted bedding; poor diet variety | Move toward 55–77°F; fluff bedding; add mixed scraps + bedding cover; sprinkle eggshell |
| Worms clump or try to escape | Acid spike, heat stress, anaerobic pockets | Add dry bedding; buffer with eggshell; increase airflow; use a frozen water bottle on top |
| Funky odors | Overfeeding → anaerobic conditions | Remove excess food; add dry bedding; feed smaller portions more often |
| Fruit flies/mites | Exposed food; wet surface | Bury food; cover with bedding; wipe rim/lid; see pest control guide |
| Slow growth after month 2 | Overcrowding or nutrient bottleneck | Split the bin; harvest castings; supplement with worm feed |
Feed list (what to add/avoid)
Great: veggie/fruit scraps, coffee grounds, tea leaves, cooked rice/pasta (small amounts), crushed eggshells, moistened cardboard/newspaper.
Go easy/avoid: meat, dairy, oils; large amounts of citrus/onion/garlic; super-watery leftovers. Always bury scraps and cap with bedding.
How many worms to start with?
- Beginner: 1,000 Red Wigglers for a steady start.
- Serious recycler: 2,000–5,000+ in a multi-tray system.
- Fishing + composting: Add Super Reds (European Nightcrawlers) for bait versatility.
Harvesting to encourage more breeding
Removing finished castings reduces compaction, restores airflow, and opens fresh “nursery” space. Tray systems make this easy; light-migration is a low-stress alternative for single tubs.
Related reading on our blog
- How Long Does It Take for Compost Worms to Reproduce?
- How to Keep Worm Bins Cool This Summer: 7 Heat Shield Hacks
- Worm Bin Pest Control: Fruit Flies, Ants & Mites
- DIY Worm Bin – How To Do It Right
Backed by research (for the curious)
- NC State Extension — temperature ranges and bin basics
- Cornell Composting — vermicompost fundamentals
- EPA: Composting at Home — safe practices and benefits
A final tip — keep track
Once your bin is dialed in, track moisture and feedings weekly. A simple notebook or fridge magnet checklist prevents overfeeding and helps you spot trends before they slow reproduction. If heat is a recurring issue, consider moving the bin indoors or using a pest-resistant, tight-lid system listed on our Indoor Compost Bin page.
Ready to start or scale? Compare Worm Kits or order live composting worms today.
The Uncle Jim’s Worm Farm editorial team
The Uncle Jim’s Worm Farm editorial team works closely with our on-site experts and composting staff to bring you time-tested, practical guidance. Every tip we share comes from real bin conditions at our Pennsylvania worm farm, home to more than 40 years of vermicomposting experience.
Bonus track: A real growth story by Maria, from Austin.
Maria set up her first Red Wiggler bin on a shaded patio in central Texas. After a quick start, growth stalled mid-summer. “I kept adding food, but the bin didn’t seem to change,” she told us. On a call with our customer support team, we spotted three sneaky bottlenecks: warm bedding in the afternoon sun, soggy top layers from melon rinds, and no grit.
- She moved the bin just 6 feet—out of the direct afternoon sun—and added a small clip-on thermometer.
- She started chopping scraps, froze them overnight, and sprinkled fine eggshell on each feeding spot.
- We had her add 1–2 inches of dry bedding after every feeding and harvest castings from the bottom tray.
Two weeks later, Maria reported cocoons everywhere. At the one-month mark, juveniles were visible, and by the end of month two, she split the thriving bin into a second tray. “The eggshell was the secret I didn’t know I needed,” she laughed. Small changes, big abundance—that’s the goal.
- Featured: close-up of cocoons in moist, fluffy bedding (ALT: “Red Wiggler cocoons in healthy worm bin bedding”).
- Thermometer reading ~70°F inserted in bedding (ALT: “Ideal 55–77°F range encourages reproduction”).
- Chopped vs unchopped scraps side-by-side (ALT: “Chopped scraps speed reproduction”).
- Light-migration harvesting (ALT: “Low-stress harvesting keeps breeders productive”).