 Community gardening projects are popping up all over. Setting up a garden helps bring the neighborhood together, makes use of wasted space, improves air quality, provides food for insects and birds, and produces fresh food. If you are involved in setting up a community garden, you need to include a system for composting leftover vegetation. Uncle Jim’s Worm Farm offers these ideas and instructions for establishing functional and safe composting systems.
Why Your Community Garden Needs a Composting System
If this is the first time you are gardening on this scale, you might not realize how much left-over vegetation your garden will produce. When you harvest broccoli, for example, the stem and outer leaves are not edible. They are trimmed away, so they are called “trimmings.” Weeds will need to be pulled and discarded. Leaves from trees and any grass clippings need to go. Also, cleanup in the fall and spring involves removing stalks, stems, leaves and other plant parts that were not harvested.
Some of the food you grow will be inedible, due to spoilage, disease or infestation, or simply by getting stepped on. Pesky animals might come and eat just half of each tomato!
Maybe you are thinking, “We can just put all this stuff in the trash.” Did you know that rotting vegetation in a landfill generates greenhouse gasses? Landfills don’t have enough air to process organic material safely. You need to compost it!
Free Fertilizer
Community gardens are usually on a tight budget. Composting produces free, all-organic fertilizer. You can use it in the garden to make the plants grow strong. The food you harvest will have more nutrients, because of the rich soil. Using organic fertilizer also keeps community members and children away from toxic synthetic fertilizers.
Which Type of Composters Are Best?
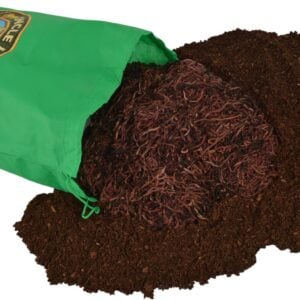
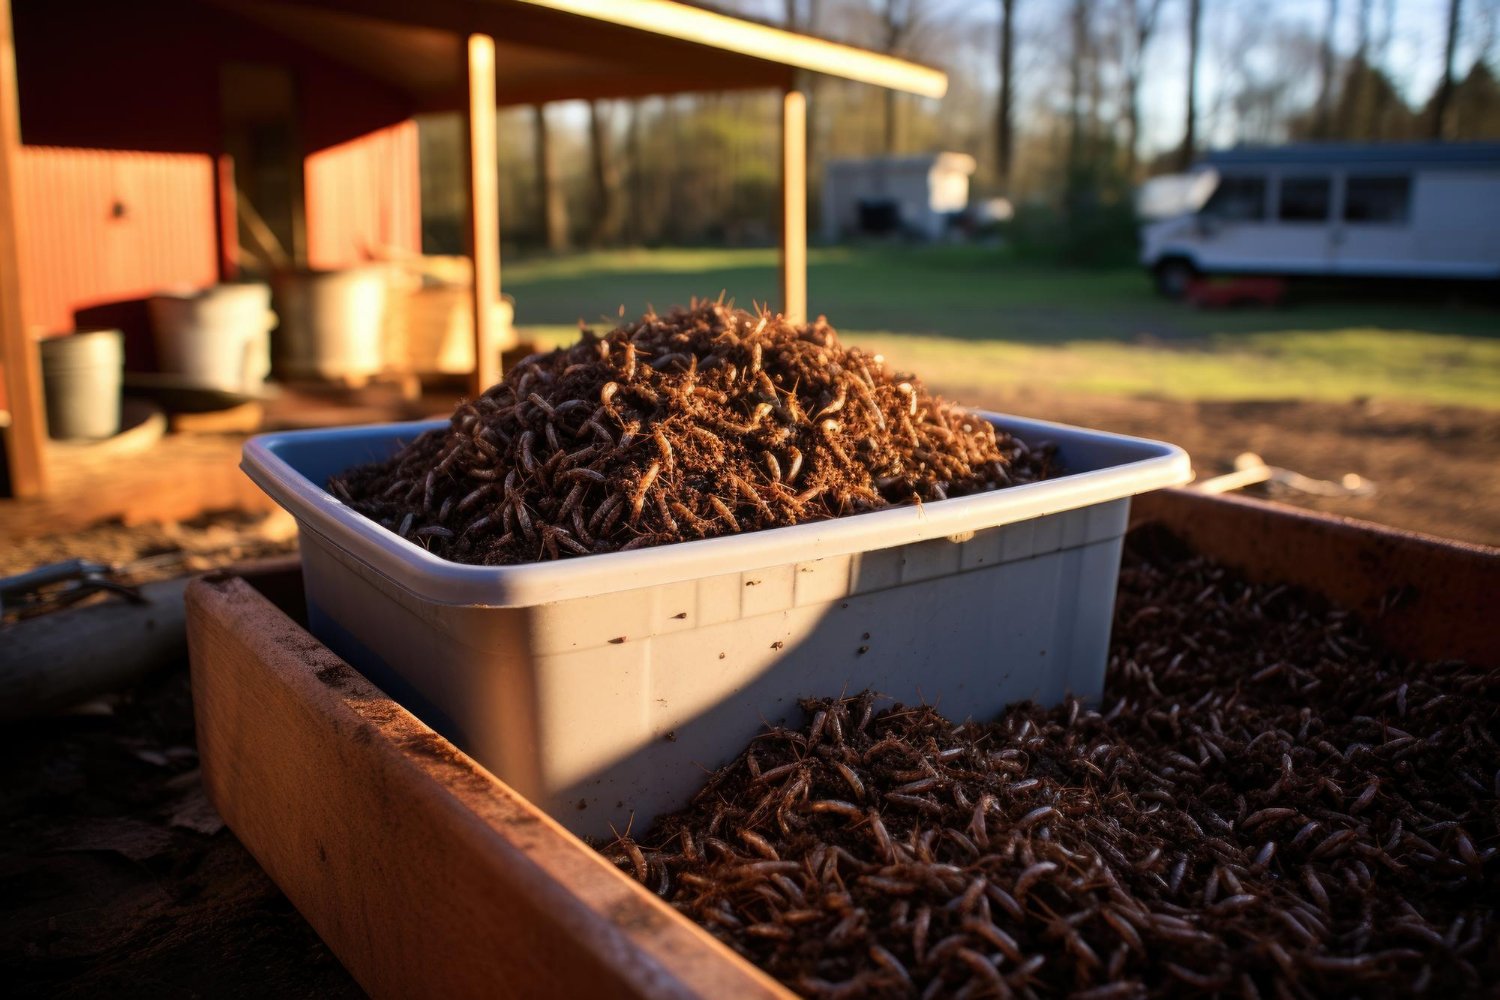
To reduce problems with odors and pests, we recommend that you use composting worms. They will break down the material much more quickly. Composting Red Worms can be ordered online. This is called “vermicomposting.”
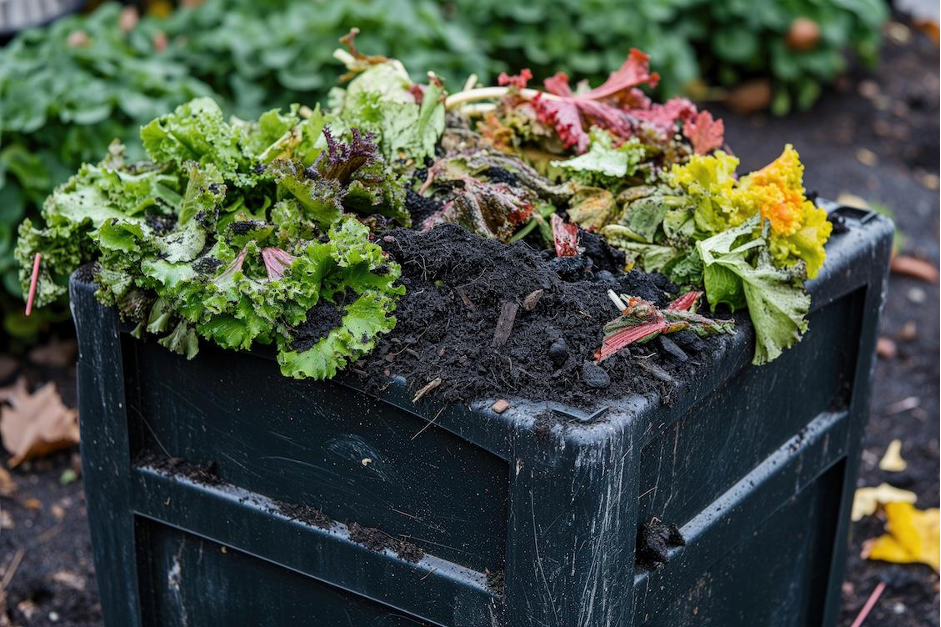
How big a composting system you need depends on the size of the garden. You will be composting fairly large pieces of vegetation in quantity, so large bins are best.
Community gardens can benefit from the 3-bin system. This allows you to “stage” the composting over time. Everyone puts the vegetation into one of the bins. When it’s full, move on to the next bin. The first bin has time to break down into wonderful finished compost. This makes the bin easier to maintain because you don’t have to struggle with separating the new vegetation from the finished compost (“turning”). They can be made with old wooden pallets or reclaimed boards for free! Composting worms can be added. Adding lids helps control moisture. Here is a video about how to make one.
The wire mesh bin is also popular. Mold the wire mesh into a cylinder and join the edges with zip ties. Then, add composting worms. They will probably stick around to get the food. This type of bin is easy to move. When the compost is ready, clip the zip ties or pull up, and start over somewhere else. Uncle Jim has produced this video with simple instructions:
Large plastic composting bins are available at hardware and gardening stores. You might need more than one. Look for features such as a tray or door at the bottom, allowing easy access to finished compost. These are suitable for worms. Tumble-style composters work quickly because you turn a handle to introduce air. This is great for community members who are very young or have mobility issues.
Where to Put it?
Place your composter in the shade if you are adding worms, so the worms do not overheat. Put them in the sun if you aren’t using worms. Make sure it’s easy to access. Keep it away from neighbors and pathways. Some municipalities have guidelines about composter placement. If you purchased your composter, follow the manufacturer instructions for placing it and setting it up.
In the cold winter months, composting will slow down. If you are doing vermicomposting, you can bring some of the worms inside using a tray-based composting system. Or, just leave them outside. They will probably lay eggs, which will hatch in the spring. If not, you can order more worms after the final frost.
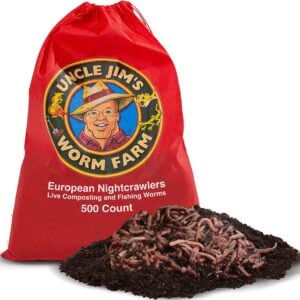
Tip: You can boost your garden immediately by ordering a sack of Super Red Worms and releasing them into the garden. These large worms will quickly dig into the ground. Free-range worms will provide valuable aeration and fertilizer throughout the garden.
Aren’t Composters Obnoxious?
If your community garden is in an urban area, you might be worried about pests digging into the compost bin. Rats, raccoons and other urban pests could show up. You can minimize this by making a few rules. Anything from the garden itself is safe to compost because it is 100% vegetation. The problem comes from kitchens and restaurants. Oily foods, dairy products, and animal products like meat and fish should never go in a composter. They will stink it up completely, and every pest in the neighborhood will come running!
Any outdoor composter will attract insects and the occasional critter. Insects help break down the compost. If an ant colony sets up a nest and you don’t like it, just leave the lid off for a day and they will scurry away with their eggs. A well-maintained composter does not attract too many stinging insects if the food that they like is buried. Some critters are nocturnal, so they won’t show up during the day.
You can control odor by following our suggestions for keeping your composter odor-free.
Community gardening and composting go hand-in-hand. Setting up a composting system helps save the environment and provides valuable free fertilizer. Best of luck with your gardening project!


2 thoughts on “Community Garden Composting: Why and How”
I purchased the worm farm. I also raise rabbits, quail and chickens. My question is can I use any of the manure from any of the above in the worm farm? I know the rabbit poop can be use in the garden with out composting it but not the chicken and maybe not the quail.
Bernie
Great question, Bernie. I’m no expert– I just listen to my worms. If conditions aren’t too extreme & the farm is large enough it could work if introduced & increased slowly over time; maybe as long as a year of keeping an eye on the population. Just as a plant can’t thrive in an environment with too much nutrient in the root zone, so too a balance of nutrient to non-nutritive but supportive elements would be the ideal scene for a worm. If things get too acidic or too alkaline, steps toward buffering the pH would include diluting with a neutral pH bedding material, soil, sand or an appropriate amendment. I’d try leaf litter if I had it. You might even add the rabbit poop to the quail & chicken as a buffer. I’d also incorporate some lacto-bacillus sprayed on the poop to help with the break-down, since they are adaptable to such a task. Mycelium is the compost bin’s friend too, as they help break down the big stuff in my bins. This is just my intuition & a bit of reading.
I read of worms raised on sewer sludge poured into 100ft long, shallow bins. Reportedly, not only did they survive but they thrived, growing to 7″ average; over 3 times the size of the 2″ red wigglers in my bins. Will you get these results with chicken & quail poop? I don’t think it’s too far fetched. Definitely worth a try. I have added dried pond sludge to my small bins & they didn’t suffer. Start small, go slow & see. I bet folks would be interested to hear how it goes. Thanks– Nick