


Ready to turn kitchen scraps into garden gold? This guide skips the fluff and gives you the exact steps to start a worm bin in 2026. Backed by university research and EPA guidelines, here is how to set up a mess-free, odor-free vermicomposting system.
What Exactly Is Vermicomposting?
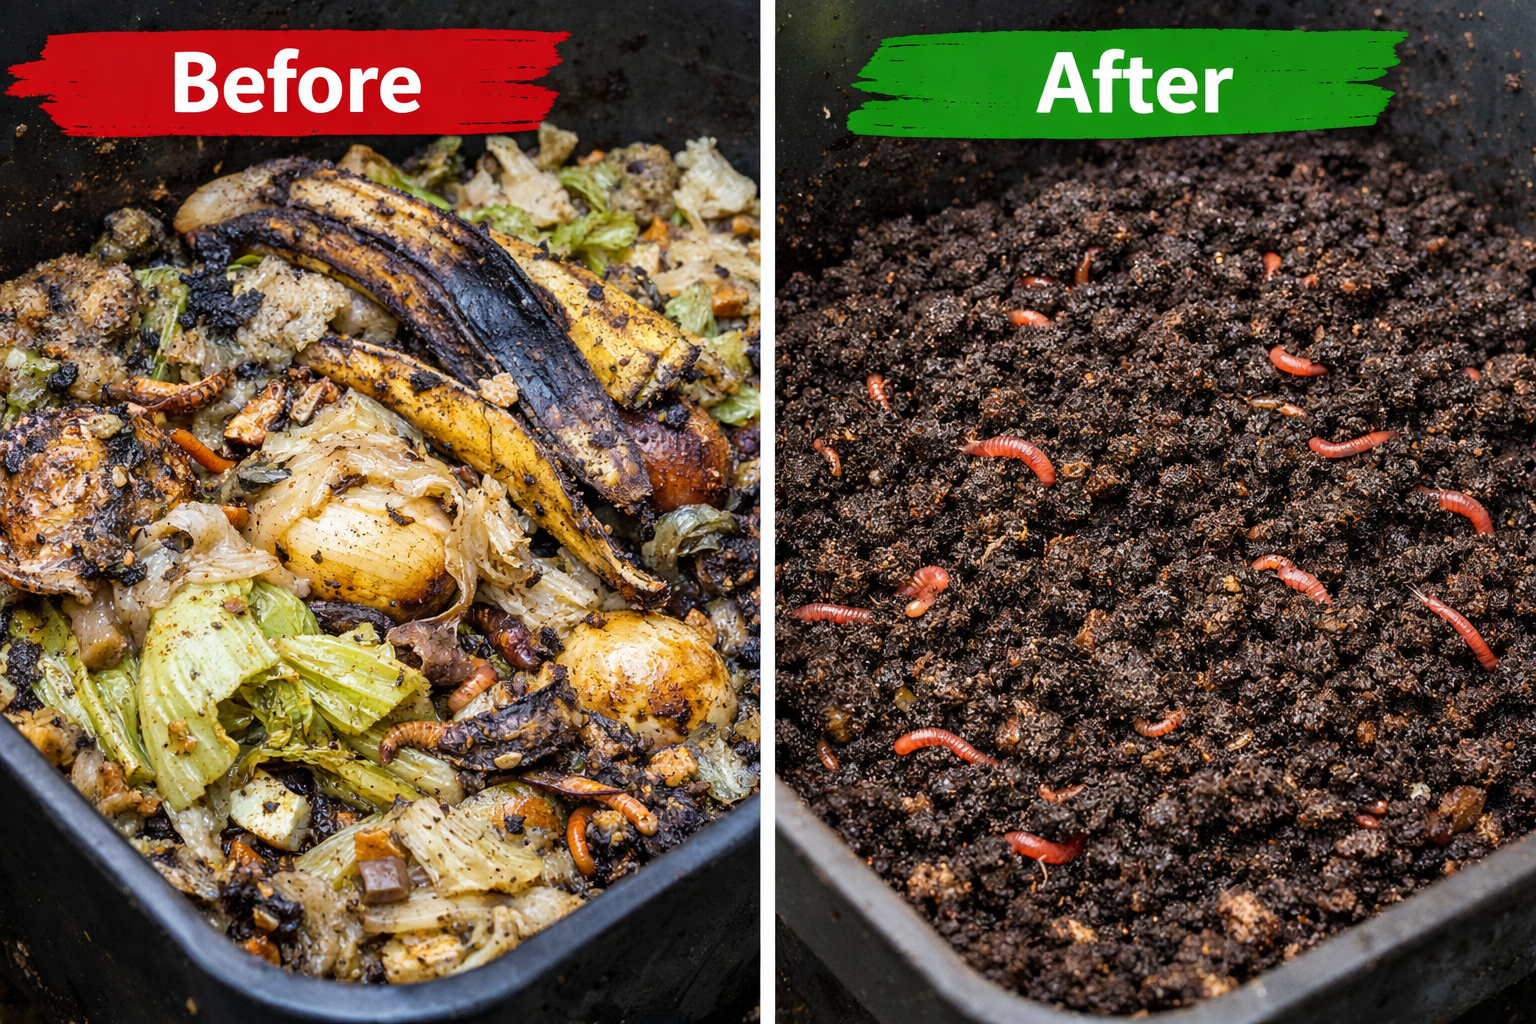
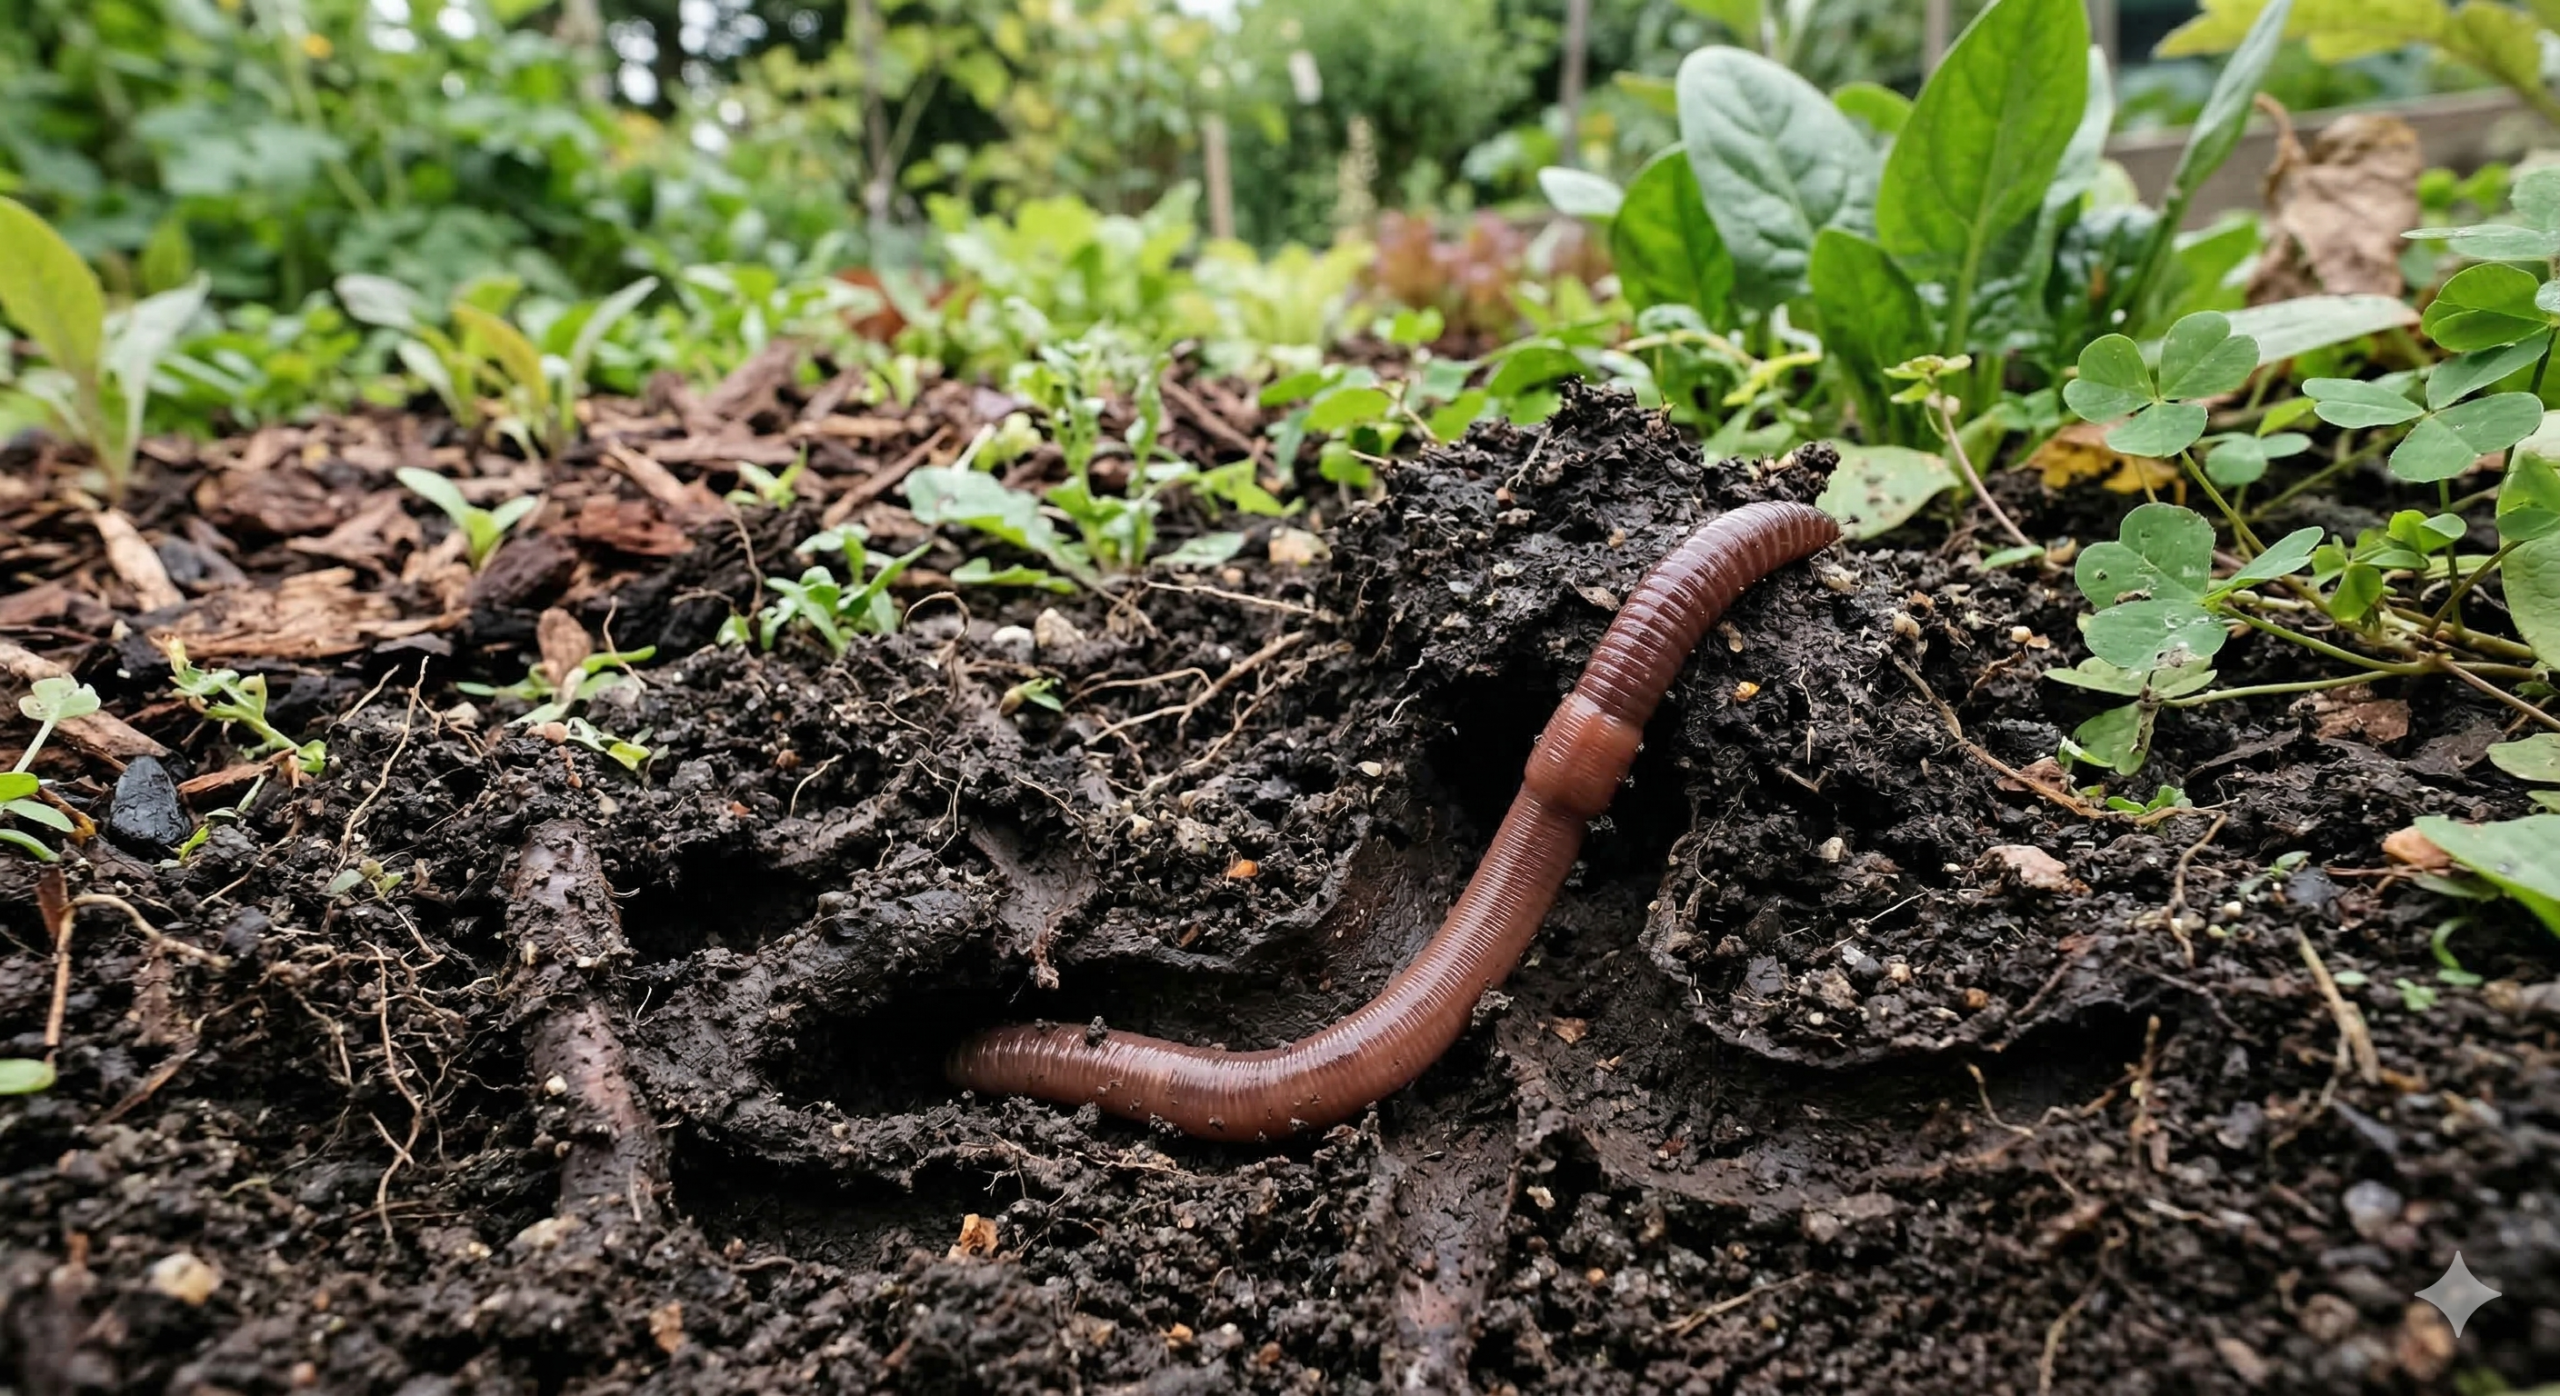
At its simplest, vermicomposting is using specific types of worms to eat your food scraps. They digest the waste and leave behind “castings” (worm poop), which is arguably the best natural fertilizer on earth.
Unlike a big outdoor compost pile that needs to get hot to work, a worm bin stays at room temperature. It’s a closed system that relies on oxygen-loving microbes and worms working together to break down organic matter without the rot or smell.
Why It’s Better Than Regular Fertilizer
Research shows that worm castings do more than just feed plants; they actually change the soil’s physical structure. According to soil science reviews, castings increase “pore space,” which helps roots breathe and lets the soil hold onto water more effectively. They are also packed with humic acids and beneficial bacteria that help plants resist diseases.
Step 1: Pick Your Bin
If you live in an apartment or have limited space, an indoor bin is the way to go. You have two main options:
-
DIY: A plastic storage tote with holes drilled for air and drainage.
-
Ready-Made Kits: These usually come in a “stacking tray” design, which makes harvesting the compost much easier later on.
Featured Kit: The Uncle Jim’s Worm Farm Kit is a popular starting point because it includes the bin, starter bedding, and a supply of worms in one package.
Step 2: Get the Right Worms
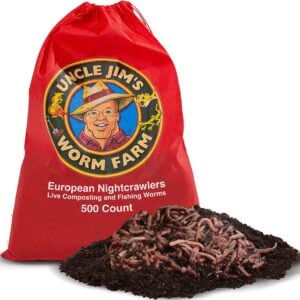
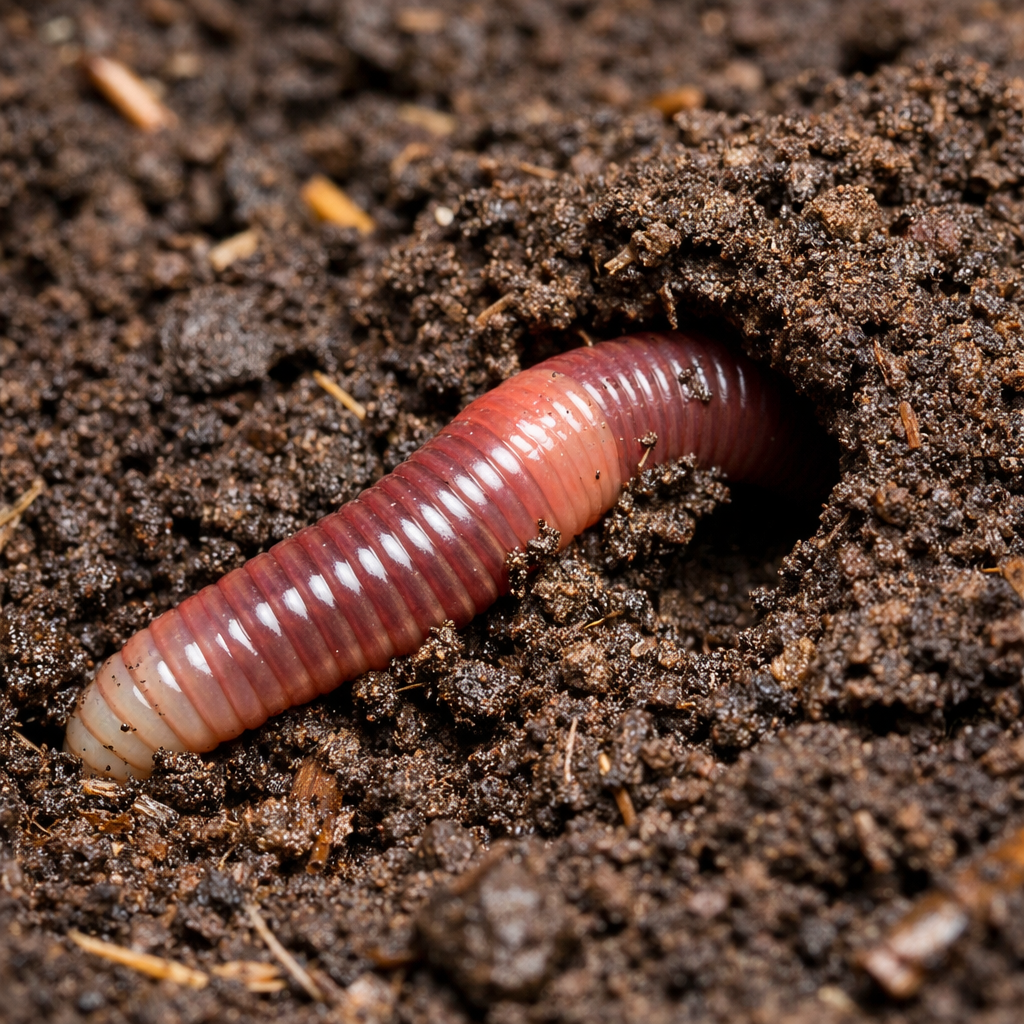
You cannot just dig up earthworms from your yard. Garden worms are “burrowers” that need deep soil to survive. For a bin, you need Red Wigglers (Eisenia fetida). These are surface-dwellers that thrive in the concentrated environment of a compost bin.
Worm Options (via Uncle Jim’s):
-
250 Red Composting Worm Mix (Good for a small hobby bin)
-
1000 Red Composting Worm Mix (The standard amount for a family-sized bin)
-
Step 3: Set Up the Bedding
Bedding isn’t just a place for them to sleep—it’s their habitat and a backup food source. Use carbon-rich materials like shredded non-glossy newspaper, cardboard, or coconut coir.
The Golden Rule: The bedding should be as damp as a wrung-out sponge. If you squeeze a handful, only one or two drops of water should come out.
Step 4: Feeding and Maintenance
Worms are low-maintenance, but they aren’t garbage disposals.
-
The Temperature Sweet Spot: Keep the bin between 55°F and 80°F. If you’re comfortable, they’re comfortable.
-
The Menu: Feed them fruit and vegetable scraps, coffee grounds, and crushed eggshells.
-
The “No” List: Avoid meat, dairy, oily foods, and citrus. These can cause odors and throw off the pH of the bin.
-
Pro Tip: Always bury the food under an inch of bedding. This is the single best way to prevent fruit flies.
Expert Resources
If you want to go deeper into the science or troubleshooting, these are the “Gold Standard” resources used by pros:
-
Worms Eat My Garbage by Mary Appelhof (The “Bible” of worm composting).
What’s Next?
Coming soon: How to Harvest Your First Batch of Castings—We’ll show you how to get the compost out without losing your worms.
We want to hear from you!
Is there a specific composting topic you’d like us to cover next? Whether it’s troubleshooting pests, composting in extreme weather, or using castings for specific plants, let us know!

8 thoughts on “New Year, New Bin: A Complete Beginner’s Guide to Starting Worm Composting”
Great information ..I’m looking forward to next
Deal on Super Reds.
Make sure to sign up for our newsletter for all of our current deals, if you haven’t already!
Is there a number to call to speak to someone? I am unclear what I need.
Our Customer Service Department number is 800.373.0555. We are available from 10 AM until 6 PM EST.
Uncle Jim’s Worm Farm
I loved this beginner’s guide to worm composting! It reminded me of my first attempts at vermicomposting; I was amazed by how much kitchen waste could transform into nutrient-rich soil. It’s such a rewarding way to contribute personally to sustainability. Your tips really make it accessible for everyone, just like the simple joys found in hobbies like racing on moto-x3m where persistence pays off too!
Thanks so much fo this comment, we really appreciate that! That first experience is one of the simplest ways to make a real impact, and like you said, it’s surprisingly rewarding once you get into it.
There’s definitely a bit of persistence involved at the beginning, but once everything is dialed in, it becomes second nature.
Glad you enjoyed the guide, hope to see you here again!
Jim – One of the stacking trays of my ready-made worm bin is translucent. The others are dark plastic. Where does the translucent one go? At the bottom? Top? I’ve got lots of worms making good compost and tea in a couple of dark trays but haven’t used that translucent one yet. Figure it would give them more space if I added it. Any ideas? Thanks
Hey Brian, nice to hear your system is already producing good compost and tea. To your question, that translucent tray is usually meant to be used as an active working tray, just like your darker ones, but, there’s one important detail: worms prefer darkness. Because of that, most people use the translucent tray higher up in the stack, not at the bottom.
If you want to add it for more space, you can place it on top of your current working tray and start adding bedding and food there. Over time, the worms will naturally migrate upward into the new tray as they follow the food source.
If you notice they’re avoiding it because of the light, you can always cover it with a lid or piece of cardboard. Keep it shaded or wrap the sides to reduce light exposure.
The bottom tray in most systems is typically reserved for collecting liquid (worm tea), so you wouldn’t want to use the translucent one there.
Sounds like you’re on the right track, keep it up!