


Diving into worm farming might tickle your curiosity bone, but guess what? It’s not just an amusing pastime. It’s a genius move towards a greener, more sustainable life. This guide is your golden ticket to mastering the art of worm farming. Picture this: turning your kitchen scraps into garden gold, slashing waste, and kick-starting an eco-friendly project that’s as rewarding as entertaining.
Ready to transform your backyard or kitchen into a thriving mini-ecosystem? Let’s embark on this worm farming adventure together and unlock the secrets to creating your very own worm wonderland.
Why Worm Farming is the Bee’s Knees
First, let’s discuss why it is such a fantastic idea to start a worm farm. Imagine taking your kitchen scraps—those banana peels, coffee grounds, and eggshells—and instead of tossing them into the trash, you feed them to your worm colony. These aren’t just worms, though. They’re like the superheroes of the soil world.
Our wiggly friends transform waste into black gold, also known as worm castings, one of the richest, most nutrient-packed types of compost you can get your hands on. This magical process gives you an endless supply of the best possible food for your plants. And it does wonders for the environment by reducing waste.
Choosing Your Wriggly Companions to Start a Worm Farm
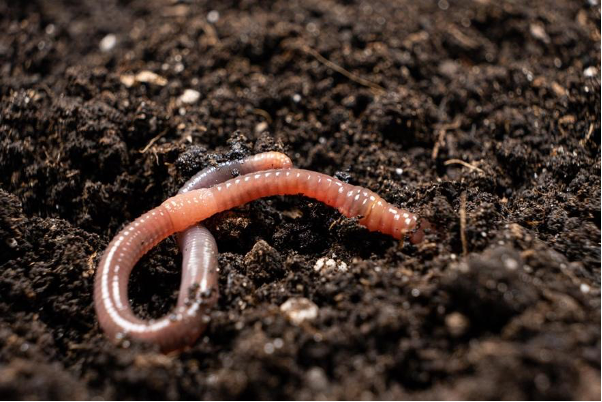
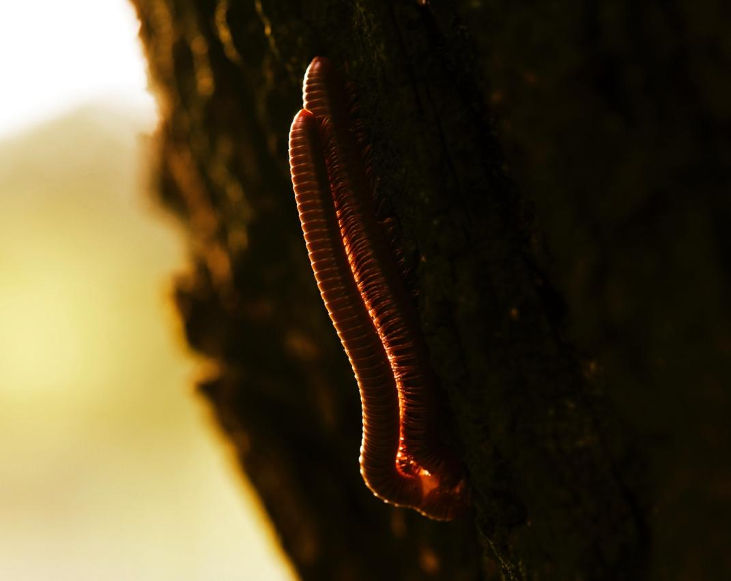
Now, onto the stars of the show: the worms. While there are many types of worms out there, when it comes to worm farming, Red Wigglers (Eisenia fetida) are your go-to buddies. These little critters are composting champions, thriving in the cozy confines of a worm bin. Those precious creatures are working tirelessly to break down your organic waste. (You can guess it, we just love our Wigglers!) They’re not picky eaters but have some preferences and requirements for their living conditions. Knowing these will help you keep them happy, healthy, and productive.
Setting Up Your Worm Farm: A Step-by-Step Guide
Let’s get down to brass tacks and set up your worm farm. You don’t need a sprawling backyard or fancy equipment to start. Worm farms can be as straightforward or elaborate as you like. You can choose between an indoor compost bin for those with limited space or an outdoor compost bin if you have more room to play with. Both options are plentiful and can be found at places like Uncle Jim’s Worm Farm, where we’ve got all the gear you need to get started. Now, follow these steps:
1. Find a home for your worms
Picking out the perfect residence for your worms is the first step on your worm farming journey. Whether you opt for a sleek, ready-made worm bin from Uncle Jim’s Worm Farm or craft a DIY version with some personal flair, the goal is to ensure a comfy and spacious environment. Think of it as setting up a mini worm hotel where guests have room to stretch, wriggle, and work their composting magic.
2. Start with the interior design
Just like us, worms need a cozy spot to snuggle into after a hard day’s work. Providing them with soft, moist bedding made from shredded newspaper, cardboard, or even coconut coir creates a welcoming home for them.
This bedding isn’t just about comfort; it’s also where your worms will start breaking down organic material, turning it into that precious compost. Keeping the bedding moist (not soggy) sets the stage for a thriving worm farm.
3. Introduce the residents
The exciting part is welcoming your Red Wigglers to their new abode. Imagine you’re rolling out the red carpet for these tiny composting celebrities. Introducing them gently to their new environment is crucial. After all, they’re about to start reducing your kitchen waste and turning it into nutrient-rich compost. These little wrigglers are not just pets but partners in your quest for a greener planet.
4. Set up a room service routine
Worms aren’t picky eaters but have a preferred diet that helps them thrive. Starting with small amounts of kitchen scraps ensures they’re manageable and can process the waste efficiently.
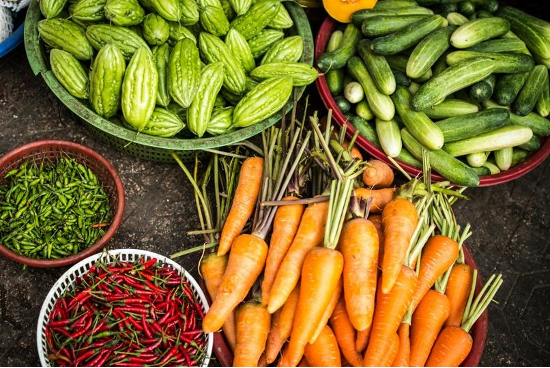
Stick to fruit and veggie scraps, coffee grounds, and eggshells, steering clear of meats and dairy products to avoid attracting pests and creating unwanted odors. It’s like running a vegetarian café right in your worm bin—healthy, eco-friendly, and utterly delightful for your worm guests.
Did you know?
Worms are quite the party animala. In the right conditions, they can reproduce every 7 days. If you start with just a couple of worms, you could have a full-blown worm fiesta in your bin in no time!
How to Care For Your Worm Farm
Caring for your worm farm is like tending to a tiny, underground garden where your worms are the stars of the show. Here’s how to keep them wiggling in delight:
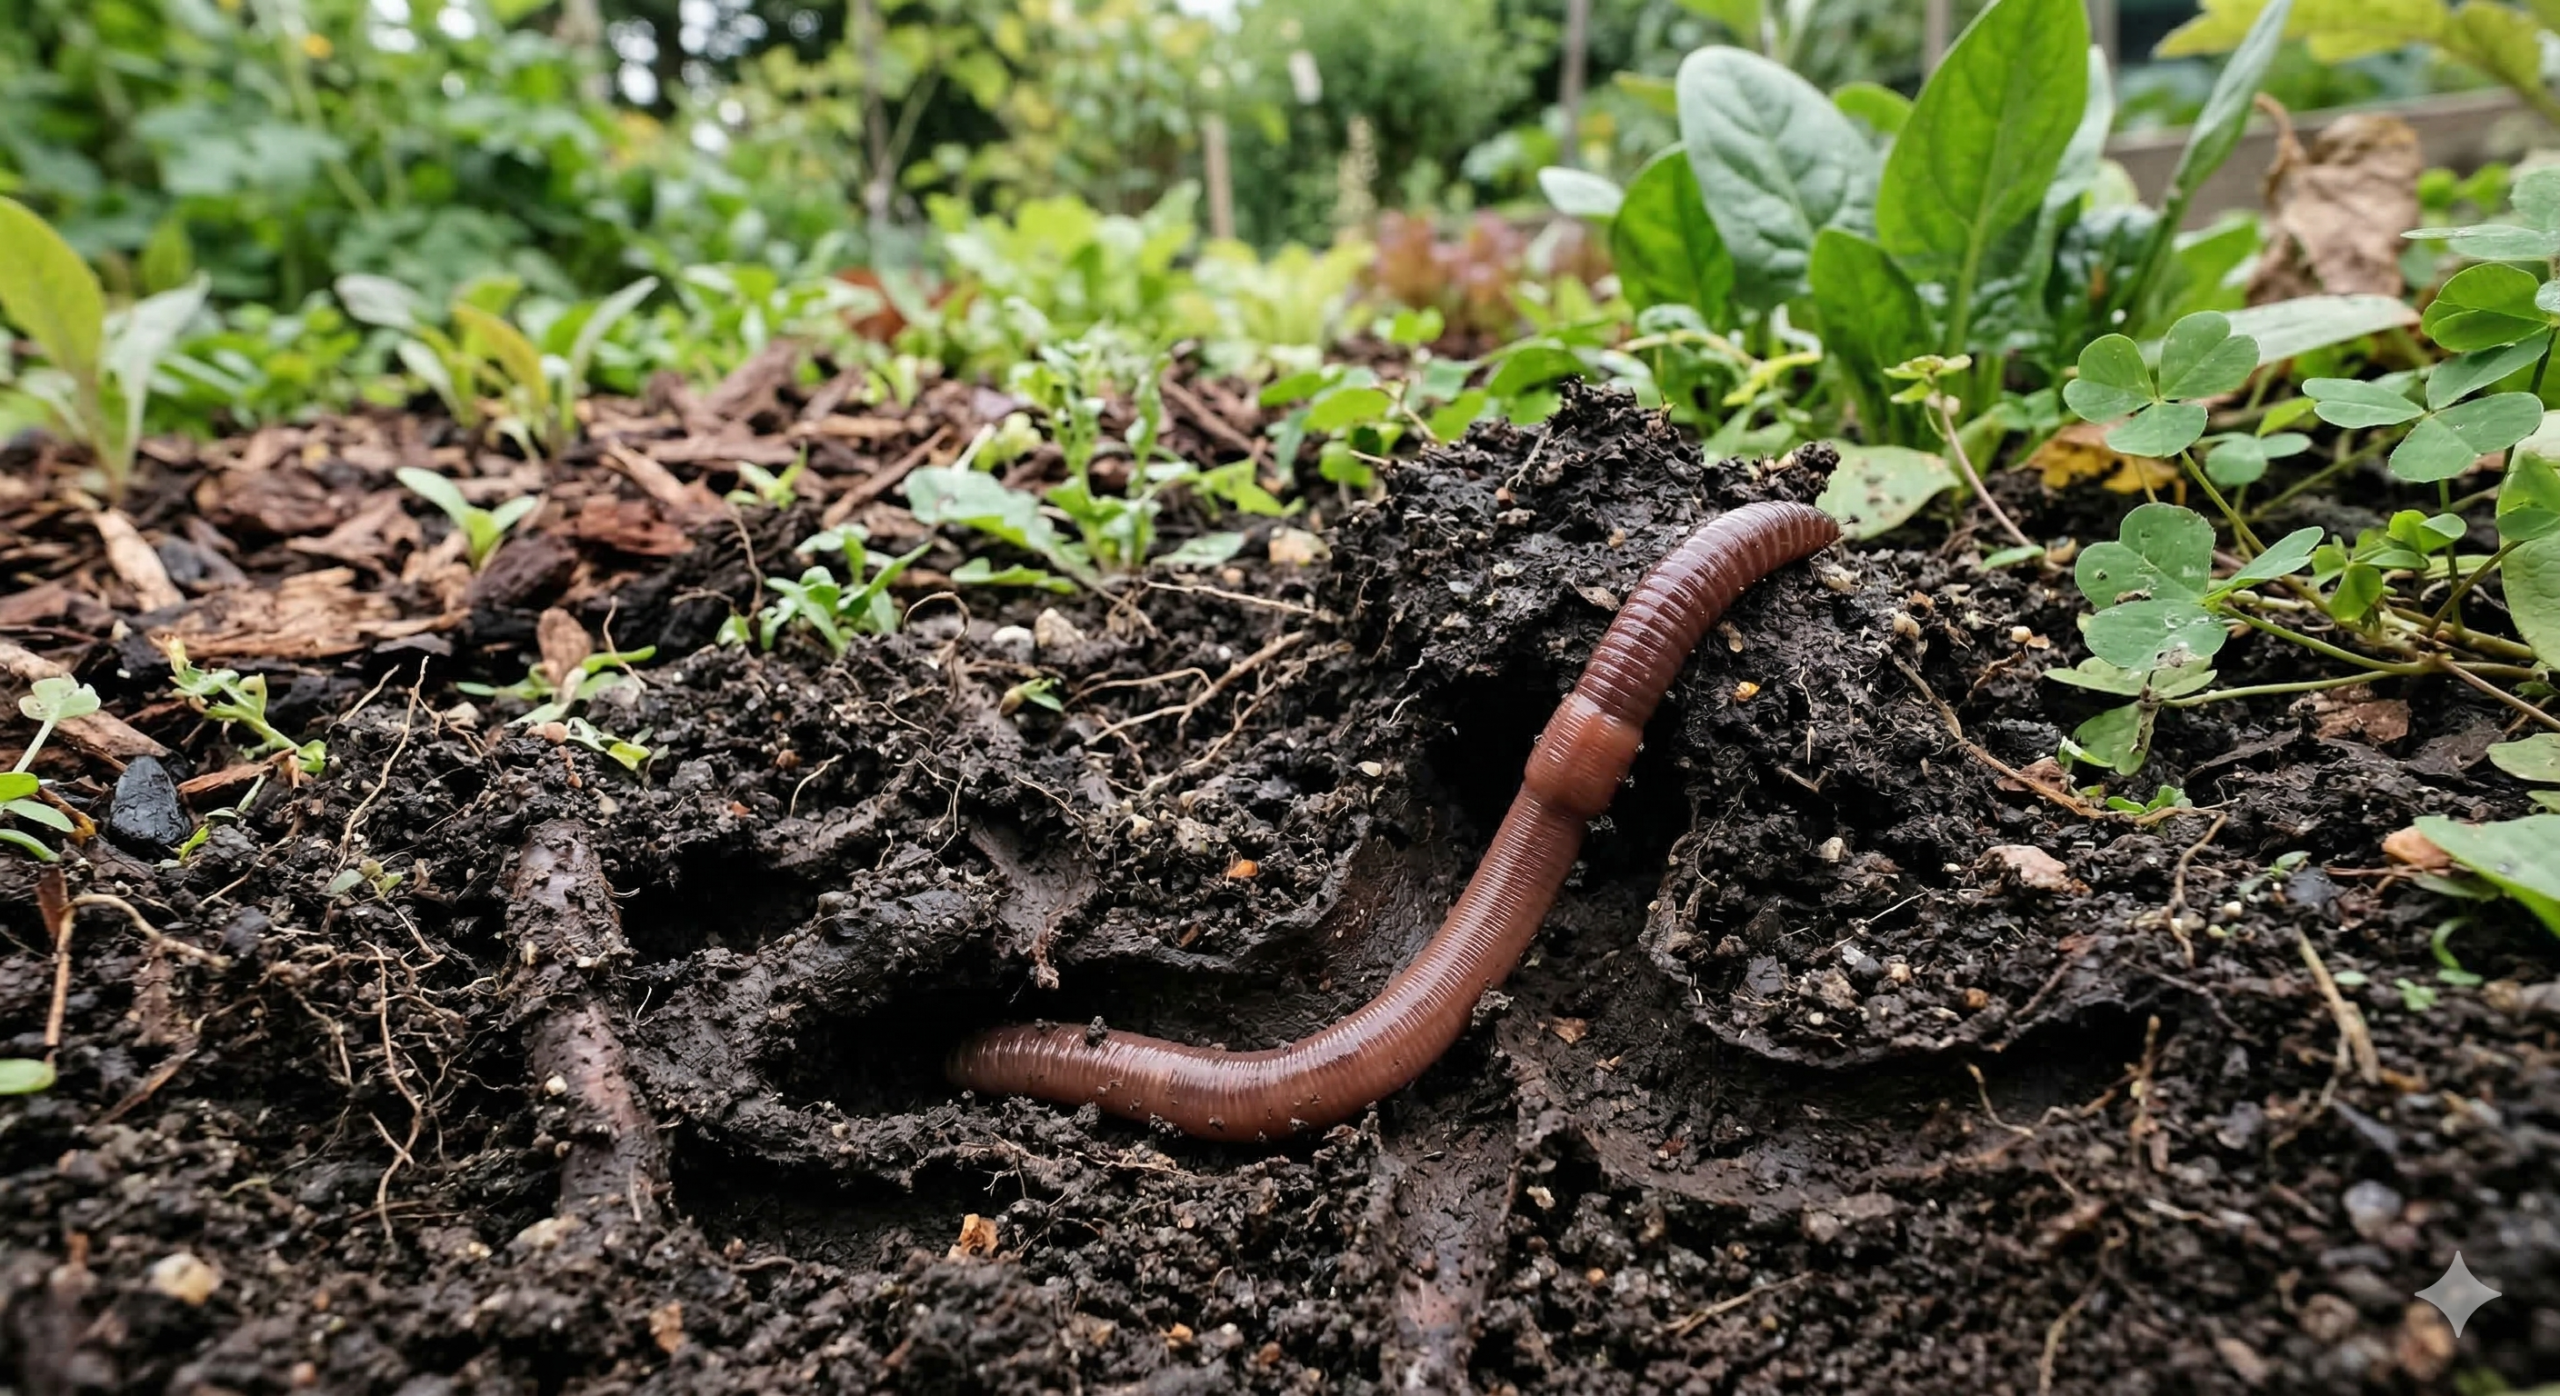
- Keep the bedding moist: Think of the bedding as a cozy, damp blanket for your worms. You want to keep it moist enough, like a wrung-out sponge, to ensure your worms are comfortable and happy. This perfect level of dampness helps break down scraps and ensures your worms can breathe easily since they absorb oxygen through their skin.
- Feed your worms a balanced diet: Just like us, worms appreciate a bit of variety in their meals. A mix of fruit and veggie scraps, a sprinkle of coffee grounds, and a dash of crushed eggshells make for a worm-gourmet feast. This doesn’t just keep your worms content; it turns them into little compost-making machines, churning out rich, nutritious compost for your garden.
- Avoid overfeeding: It’s tempting to shower your worms with all the kitchen scraps you can find, but moderation is key. Think of it as serving them a well-portioned meal. Add new scraps only after the previous ones have been mostly gobbled up. This way, you avoid the pitfalls of a smelly, unhappy worm bin and keep the composting process smooth and efficient.
Keeping these tips in mind, you’ll create a thriving environment that’s a little slice of worm paradise. Regular checks and minor adjustments to their living conditions will make you a pro at worm care.
Plus, the better care you take of your wormy friends, the more they’ll reward you with high-quality compost like a superhero booster for your plants. It’s a win-win: a happy home for your worms and a garden that’s the envy of the neighborhood.
Some Wormy Wisdom to Send You on Your Way
Vermicompost, the end product of your worm farm, can increase plant growth significantly compared to traditional compost. That’s the power of worm farming. It’s not just good for the earth; it’s fantastic for your garden, too.
It’s an adventure in sustainability, science, and a bit of fun to start a worm farm. With these steps, some care, and patience, you’ll be on your way to becoming a proud worm farm owner. Remember, Uncle Jim’s Worm Farm is here to support you with all the supplies, worms, and advice you need to get started. So, why not take the plunge and join the ranks of happy worm farmers everywhere? Your garden (and the planet) will thank you.


17 thoughts on “How to Start a Worm Farm: A Beginner’s Guide”
I am interested in raising red wrigglers and night crawlers mainly for fishing. Can they be mixed in the same bin ? I live in Indiana but have a lake property in Arkansas. I have a basement at both. How long can the worms be left unattended? Is there a way to automatically control moisture?
Hi I’ve known about the power of worms for gardening for a long time I used to catch them and transplant them to my garden. I let the rain do the watering and just made sure I had worms in the garden. I don’t have a place to farm worms now but its interesting.
So they live out there in the garden ok.i am trying to do one but trying to learn how to feed them I don’t hv sraps like that all the time. So wat do I need to do
How do I start outdoors worm farm starting with about 10 to 20,000 worms.. How to build a nice ben and what to do to get started?
I started my worm bed on the ground with cardboard and newspapers on the bottom. I never see more than a few worms when I mix the compost. I feed them scraps every other day and water them lightly. The soil is getting broken down, but I don’t know what to expect. Could they just crawl away underground?
I only started with 150 worms, glad I found your website, hope you can help and tell me what I’m doing wrong.
Maybe not enough worms, or they need to be in a container. My bed is about 5 X 3 feet and I put bricks around to hold everything in.
Please tell me what I’m doing wrong.
Hi Donna, It’s been a few months, are your worms doing better? Your bed is 15 square feet. 150 worms is only 10 worms per square foot, but we realy should start with 500 per square foot. Given time, food, and protection, even your lonely worms will multiply. Let us know how they are finally working out.
500 per square foot?
I have several large bins of dried leaves I want to use to make into compost and a lot of brown cardboard and coffie grounds. What do you suggest bearing in mind I am kinda short on cash and live in south Florida so most of the leaves are from \mulberry and mango trees. Let me know.
I won’t to grow fishing worms, I try growing them in the ground in a bed but the rats eat them
You need to start a bin. Any plastic tote of 10 to 27 gallons will do great. I use those black bins with yellow lids, very sturdy. Drill a few holes, 1/8 -1/2″, in the sides, I drill high medium and low. Keep your bin inside or in the shade. See blog post “Rats are worm murderers” at oldtomswormery.com
do you have good instructions for transferring my worms to a new bed? Or should I just take some of the composted matter out for use and replenish? I have 3 bins of healthy worms but I am not taking any compost out. Thank you
HEAR YE HEAR YE !NON WORKING REFRIDGERATORS LAID DOWN FILLED WITH DIRT MAKE IDEAL WORM BIN HOTELS FOR FARMING WORMS,,,ALSO ANY PLASTIC ICE CHEST SERVES THE SAME PURPOSE TO FARM WORMS ,,, THANK ME LATER !
Starting out
Where do I get my starter kit for my worm farm
https://unclejimswormfarm.com/order-stuff/worm-kits/
I live inland, in San Diego county Zone 9B. I am leaving town for 6 weeks and do not have a reliable person to feed my red wigglers and water them. My bins are outdoors next to the north side of my house.
Suggestions to keep the little guys alive are what I need.
Thanks!
Hello Elizabeth. Thank you for your question and it is a good one. We have a link to our Blog, below, that will help you with this. Please let us know if you have any other questions after you look it over. https://unclejimswormfarm.com/composting-worms-vacation/
Uncle Jim’s Worm Farm