


Red Wigglers, European Nightcrawlers & DIY Bins — practical steps for gardeners, homesteaders and zero-waste fans.
Why Every Backyard (and Balcony) Needs a Worm Bin in 2025
Kitchen scraps are the single largest component of U.S. residential trash, yet food waste is also the easiest material to recycle on-site. More than 55 % of households garden and curbside organics programs already reach ≈ 14.9 million homes.[1][2] For everyone else, a countertop worm bin bridges the gap—shrinking the garbage bag, building fertile soil and saving money in one fell swoop.
- Money: A 10 lb/month scrap diversion converts to roughly $180/year in fertilizer savings, and the average home garden can yield $600 in produce value.[1]
- Soil: Worm castings contain five times more available nitrogen and seven times more potassium than ordinary topsoil, boosting plant yields up to 25 %.
- Climate: Diverting 120 lb of scraps keeps CO₂-e methane emissions out of landfills—roughly the tailpipe output of a 1 000-mile road trip.
Take-away: Worms aren’t just “green guilt relief.” They boost harvests, slash fertilizer bills and cut greenhouse gases—all from a box that fits under the sink.
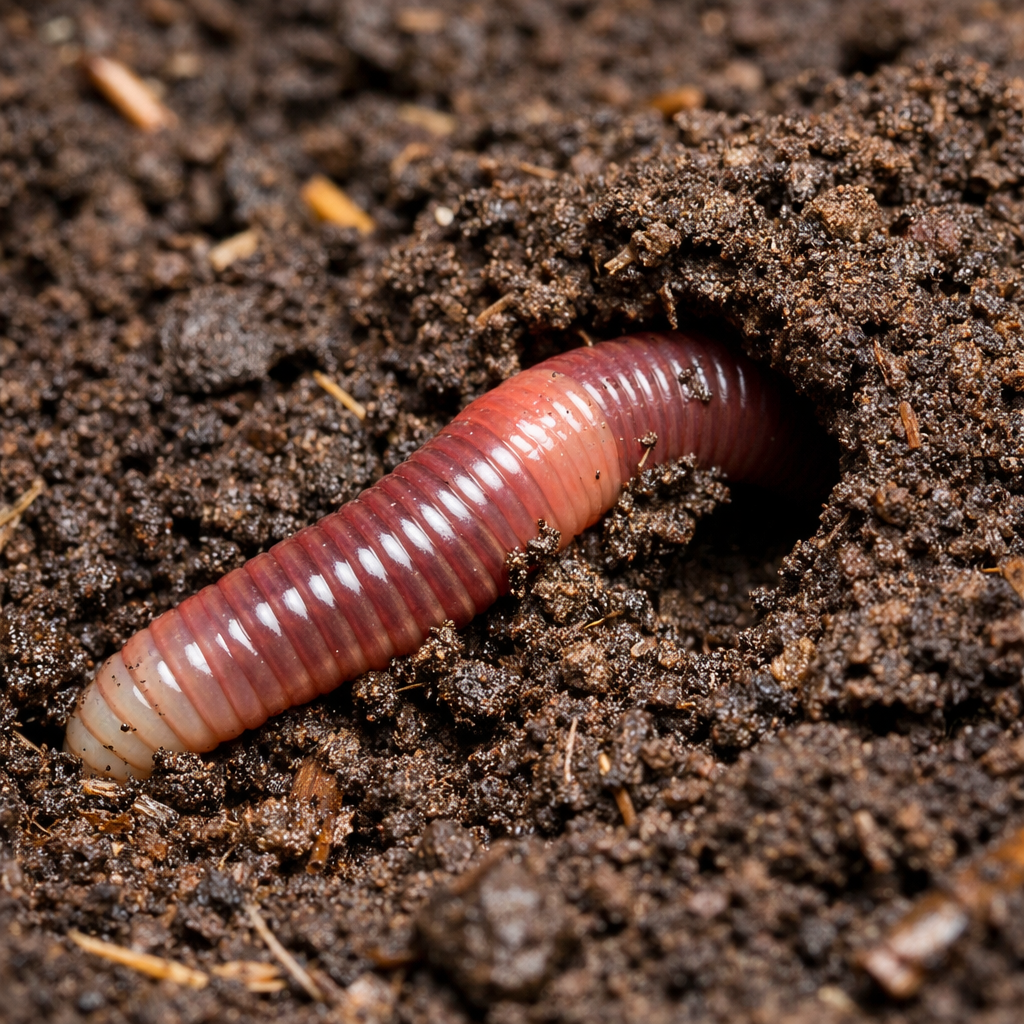
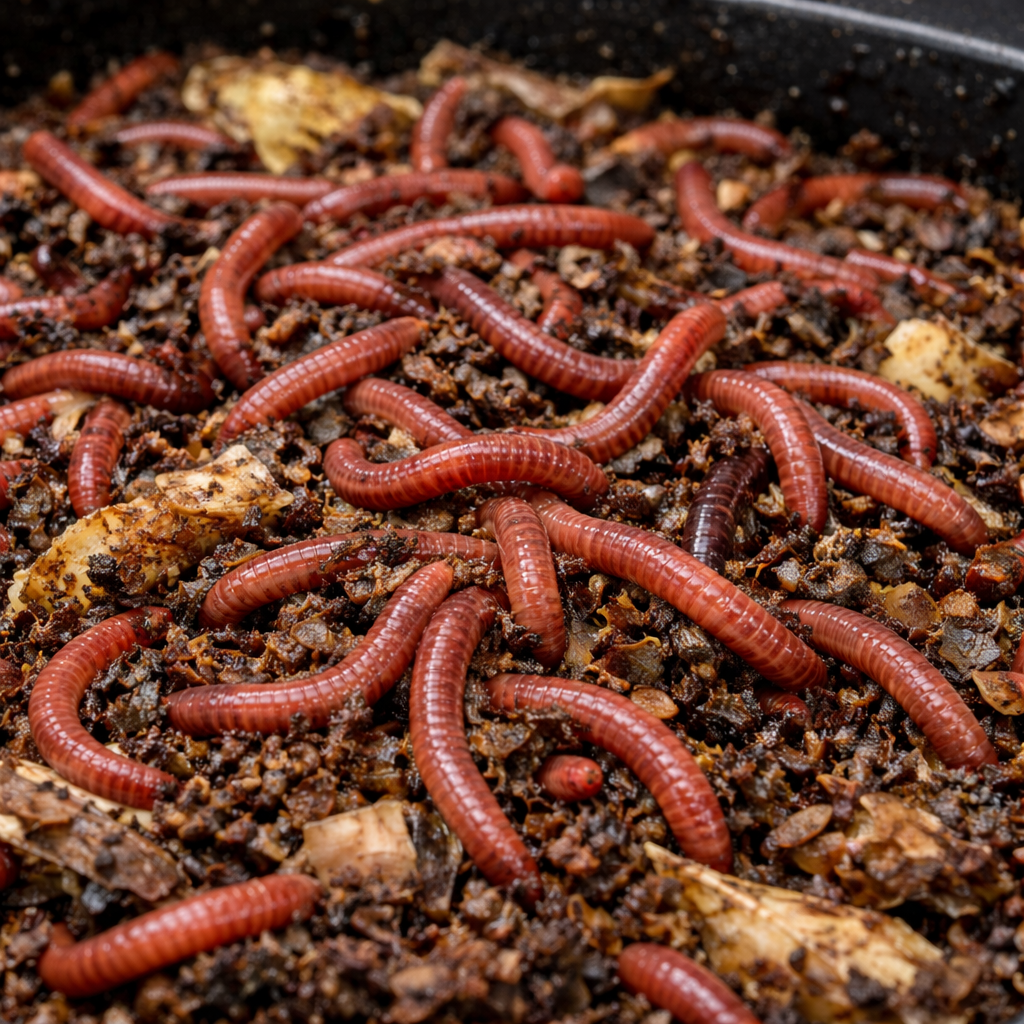
Meet the Stars of the Bin
| Feature | Red Wigglers Eisenia fetida |
European Nightcrawlers Eisenia hortensis |
|---|---|---|
| Surface vs. depth | Top 3 in — rapid scrap churner | Burrows to 6 in — aerates heavier soils |
| Comfort temp | 55–77 °F (13–25 °C) | 50–80 °F (10–27 °C) |
| Reproduction rate | 1 cocoon every 7–10 days; hatches in 3 weeks | Slower: 1 cocoon every 14 days; hatches in 6–8 weeks |
| Castings texture | Fine & fluffy—great for seed trays | Grip-ier—improves drainage in raised beds |
| Bonus use | Indoors, classroom kits | Fishing bait & lawn aeration |
Starter blend: Mix ½ lb of each species. Wigglers work the top layer while nightcrawlers tunnel deeper, preventing compaction after heavy rains.
Step by Step: Building a Bin That Never Smells
1 ▷ Choose Your Container
- Stackable tray (buy here): mess-free, scalable, perfect for apartments.
- 18-gal tote: drill ⅛ in holes 3 in apart on all sides + lid; add a catch-tray underneath.
- Wooden crate: untreated pine; line with breathable landscaper’s cloth to keep bedding in.
2 ▷ The Science of Bedding
Bedding is more than filler—it balances carbon, moisture and airflow.
| Ingredient | Ratio | Why it matters |
|---|---|---|
| Shredded corrugated cardboard | 50 % | High carbon, airy structure |
| Aged coco coir or peat | 25 % | Moisture buffer; resists compaction |
| Finished compost | 15 % | Seed microbes, jump-start digestion |
| Crushed eggshell / ag lime | 10 % | Calcium + pH guard against souring |
Moisten until it feels like a wrung-out sponge: squeeze—should clump but not drip. Spread 4 in deep.
3 ▷ Add the Worms
- Rule of thumb: 1 lb worms per 0.5 ft² surface area (about 1 000 worms).
- Gently distribute across bedding; cover with damp newspaper or burlap.
- Let them settle 24 h—then begin feeding.
What, When & How Much to Feed
Think 2 parts “greens” : 1 part “browns” by volume. Greens = nitrogen-rich (kitchen scraps). Browns = carbon-rich (shredded paper, leaves).
| Weekly Planner (per 1 lb worms) | Volume | Prep Tip |
|---|---|---|
| Mon — veggie peels, coffee grounds | 2 cups | Chop < ½ in |
| Wed — fruit cores, tea bags | 2 cups | Freeze/thaw first to break cell walls |
| Fri — dry cereal box & cardboard shreds | 1 cup | Dry browns soak up moisture |
Avoid: citrus, onions, spicy peppers, meat, dairy, oils. If it smells like trouble, it is trouble.
Month-by-Month Care Calendar
| Month | Task | Why |
|---|---|---|
| Jan – Feb | Keep bin 60-70 °F; feed half-rations. | Worms slow in cold basements. |
| Mar – Apr | Add a second tray; start seedlings in 20 % castings mix. | Pre-spring population boom. |
| May – Jun | Harvest first castings via tray migration. | Peak digestion tempo. |
| Jul – Aug | Freeze scraps into ice cubes; adjust feeding during heatwaves. | Keep temps below 85 °F. |
| Sep | Second major casting harvest. | Prep fall veg beds. |
| Oct – Nov | Mix in dry leaves for carbon; insulate bin if outdoors. | Leaf season = free bedding. |
| Dec | Reduce feeding 25 %; check moisture weekly. | Slow metabolic window. |
Troubleshooting—Real Fixes for Real Problems
Odor = excess nitrogen + excess moisture. Balance both and 90 % of headaches disappear.
| Issue | Likely Cause | Rapid Fix |
|---|---|---|
| Sour or ammonia smell | Too much food; bedding water-logged | Add 2 in dry cardboard; skip feeding 5 days |
| Fruit flies | Scraps exposed on surface | Bury food 2 in deep; cover surface with bedding |
| Worms climbing walls | Temp > 85 °F or acidic conditions | Move to shade; mix in 2 tbsp crushed eggshell |
| White mites bloom | High humidity | Vent lid 1 h/day; stir in handful dry peat |
| Slow breakdown | Low temps or overpacked bedding | Fluff bedding weekly; ensure 60-75 °F |
Harvesting Castings & Brewing Liquid Gold
Two Harvest Methods
- Light-cone: Empty bin onto tarp under bright light; worms burrow from light, scoop castings every 3 min.
- Tray migration: Add new tray with moist bedding + food on top; 90 % of worms migrate upward in 10-14 days.
Worm-Tea Recipe
• 1 cup sieved castings
• 5 gal de-chlorinated water
• 2 Tbsp unsulphured molasses
Aerate with an aquarium pump 24 h. Use within 48 h as root drench (dilute 1:1) or foliar spray (dilute 1:2).
Crop-Specific Benefits
- Tomatoes & peppers: Earlier flowering, thicker stems.
- Leafy greens: Up to 40 % more chlorophyll content = deeper color and flavor.
- Houseplants: ¼ cup castings top-dress every quarter eliminates most yellow-leaf issues.
Cost Math: When Worms Pay for Themselves
| Item | Cost | Lifetime / year-1 value |
|---|---|---|
| 1 lb Red Wigglers | $29 | Indefinite (self-reproducing) |
| DIY tote + drill | $10 | 5 years ⇢ $2/yr |
| Bedding (recycled) | $0 | Free—boxes, junk mail, leaves |
| Total Year 1 | $39 | |
| Fertilizer avoided | — | $180 saved |
| Produce value | — | $600 yield |
ROI: First-year net gain ≈ $741 on a $39 setup—plus goodwill from the planet.
Five Worm-Composting Myths — Busted
- “It smells.” Only if you overfeed or skip carbon. Correct C:N and it smells like forest soil.
- “Worms escape everywhere.” Worms hate light and drafts; if they escape, something is wrong inside—fix the bin, and they stay put.
- “Bins attract rats.” Rodents chase meat & cheese, not shredded carrot—keep animal products out and you’re safe.
- “Castings burn plants.” Unlike hot manure, worm castings are pH-neutral and safe even for seedlings.
- “Too complicated.” Ten minutes a week: feed, fluff bedding, close lid. Simpler than a pet goldfish.
Know Your Local Rules
Several cities—San Francisco, Seattle, Boulder—mandate separate food-scrap collection. Home vermicomposting often qualifies for fee waivers on municipal compost bins. Check your county website for “backyard composting ordinance” and register for rebates on approved compost equipment.
Community & Classroom Ideas
- Worm jar demo: 1-quart mason jar with alternating layers of sand, soil, chopped scraps; great for Earth Day.
- Neighborhood swap: Trade a pint of castings for heirloom tomato seedlings at the spring plant-share.
- #30DayScrapChallenge: Weigh scraps for a month, convert to castings—post before/after plant photos.
FAQ Fast Lane
How many worms for a family of four?
Start with 1–2 lb of red wigglers (≈ 1 000–2 000 worms). They handle about 4 lb of kitchen scraps weekly.
Will the bin smell?
Not with the right carbon-to-nitrogen ratio. A healthy bin smells like forest soil; odors mean excess food or water.
Can I compost in an apartment?
Yes. A ventilated tray system fits under a sink or on a balcony and stays pest-free if scraps are buried.
Your Next Move
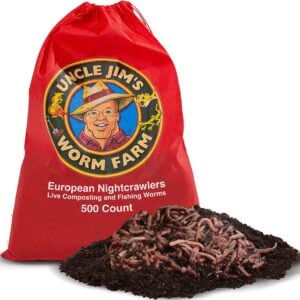
- Order a Red Wiggler Starter Pack (live-arrival guarantee).
- Add an Uncle Jim’s Indoor Composter Bin —stackable, no mess, or Outdoor Composter Bin.
- In 90 days, top-dress every tomato, fern and fiddle-leaf fig you own.
Scraps to super-soil—no gimmicks, no smell, just results. See you in the garden!

6 thoughts on “From Scraps to Super-Soil: The 2025 No-Nonsense Guide to Worm Composting at Home”
I have an outdoor compost bin that’s 3’ tall and 2 feet wide with holes on all sides. we routinely add organic kitchen scraps and a mix of nitrogen (grass and flower clippings) and carbon (leaves and straw) from the yard. I turn it manually with a pitch fork but would like to speed up the process. Is this a good fit for your worms, and if so how much and which kinds?
Also, I live in Utah USDA zone 7a-7b.
Thanks
Hello Mike;
We recommend that you add the European Night Crawler for in the ground or raised bed gardens. They are a hardy worm that will live off of the nutrients in the soil, as well as thatch and organic matter; and burrow deeper which helps to protect them from the elements.
We recommend that you add 5-10 per square surface foot of soil. We also recommend that you add them in the early spring after the danger of frost or fall after the worst of the heat is over.
The most important part is to get the worms into the ground, they double in numbers every three months. If you cannot add the recommended amount, just add the worms and they will populate the ground in time.
Please let us know if you have any other questions.
Uncle Jim’s Worm farm
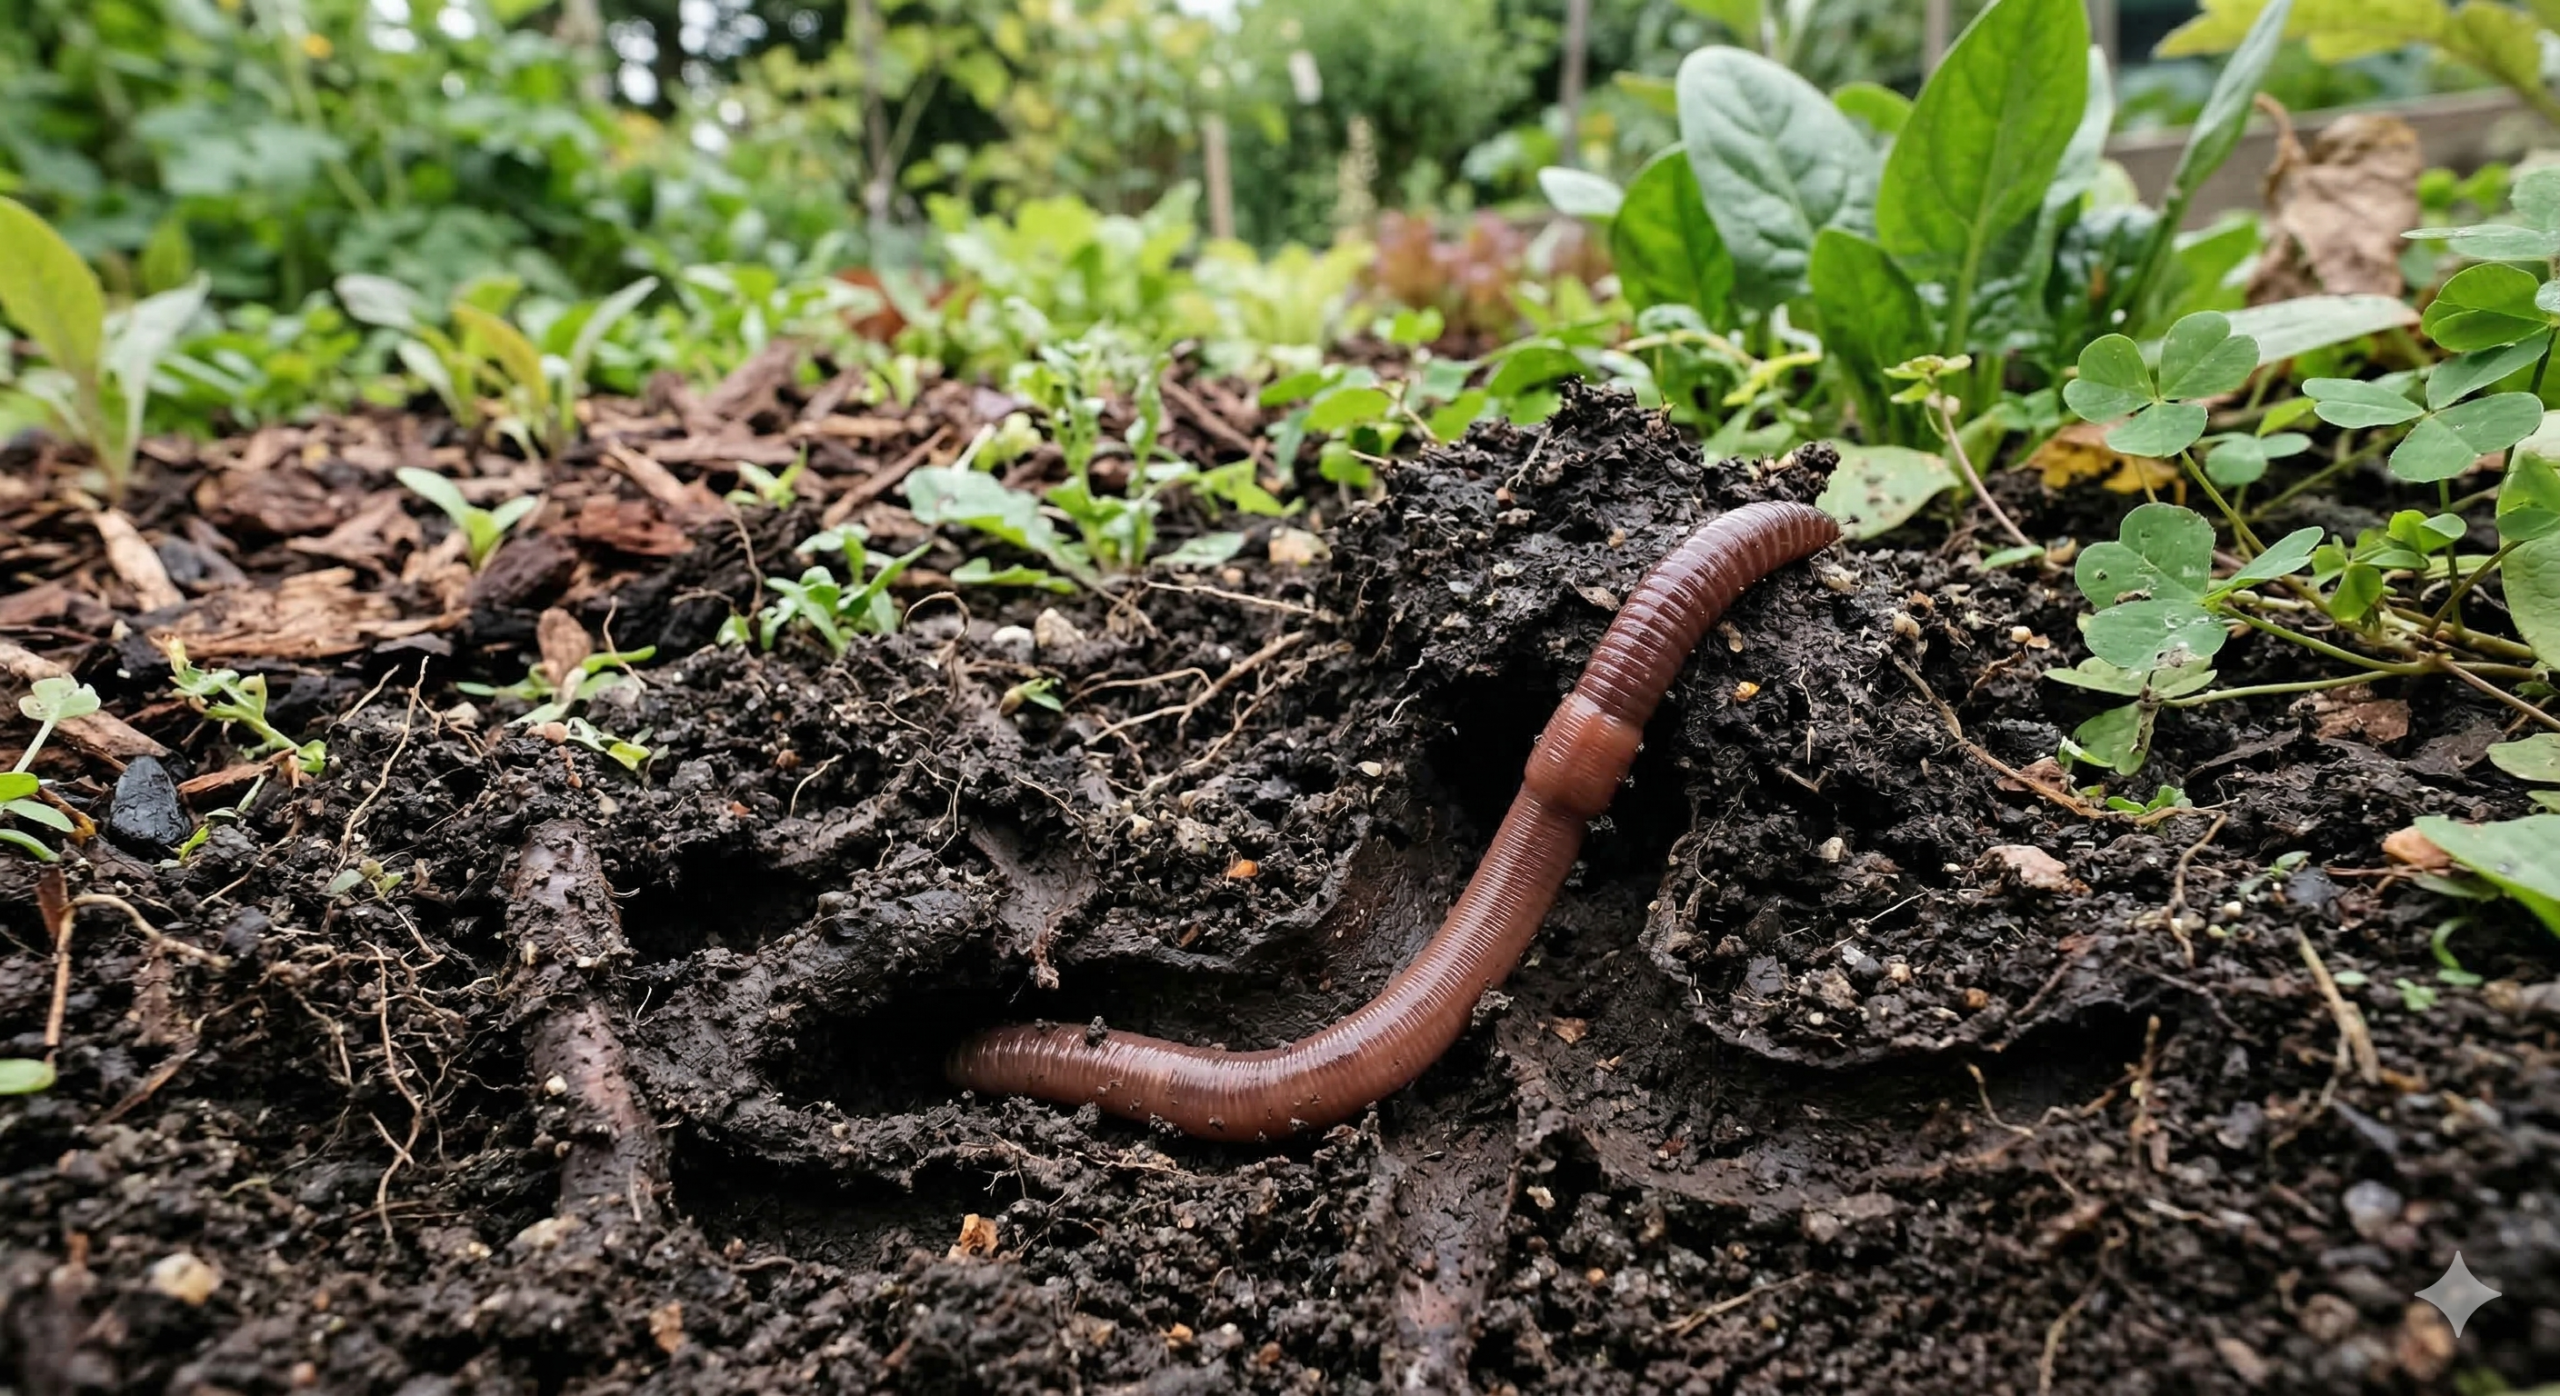
Hi, I’m interested in adding worms to my raised garden beds, in-ground flower beds and lawn to improve my soils. How exactly would I introduce them to those areas? …dig a hole and drop them in? Let them loose on top of the ground? Something else?
Do I need to “feed” them, or do they feed themselves from the dirt itself?
Thanks,
Katherine
Hello Katherine;
Here are the steps to giving your worms a healthy start:
1. Dig one large hole or several smaller holes around the area that you wish to add the worms to. Loosen up the soil that you removed from the hole and put it back into the hole. Use a watering can or hose to spray the soil that has been returned to the hole; be sure to not make a puddle, only dampen it (NOTE: you can remove the sod in one piece from the area that you are digging the hole and replace it after the worms are added)
2. Once you have the soil and hole prepared, simply dump the number of worms that you are adding to that hole on top of the loosened soil and cover them with either the sod (that you removed) or a piece of damp newspaper. Allow the worms to burrow down into the hole on their own. Do not bury them.
3. Give the worms about 30 minutes and check to see if they are all burrowed down into the soil. If not, check the remaining worms for movement. If they have perished, let us know as soon as possible and we will replace any that die within the first 48 hours of shipment.
4. If all of the worms have burrowed in. Your work is done and theirs has begun.
**There is no need to feed them unless there is a lack of nutrients or organic matter in the bed where they are living. They also may be happier if you do decide to throw in some scraps!
Uncle Jim’s Worm Farm
I have started a worm farm for the winter in my garage, and like Katherine I want to use them in my raised beds and yard next spring. I live in North Texas where we have a problem with fire ants. What should I be using to treat fire ants that won’t cause a problem for the worms, and how do I best protect the worms from fire ants once I introduce them to my yard in the spring?
Hello Rebecca;
The best thing to do for the Fire Ants, to keep them out of the bin, is to make a Moat around the base of the bin, under the legs or the entire bin. If the bin has legs, put caps of water under the legs as the ants will not cross water. You can also use DE – Diatomaceous Earth, sprinkled lightly on top of the soil to rid them from the soil or around the base of the bin to prevent them from climbing into the bin.
Uncle Jim’s Worm Farm