


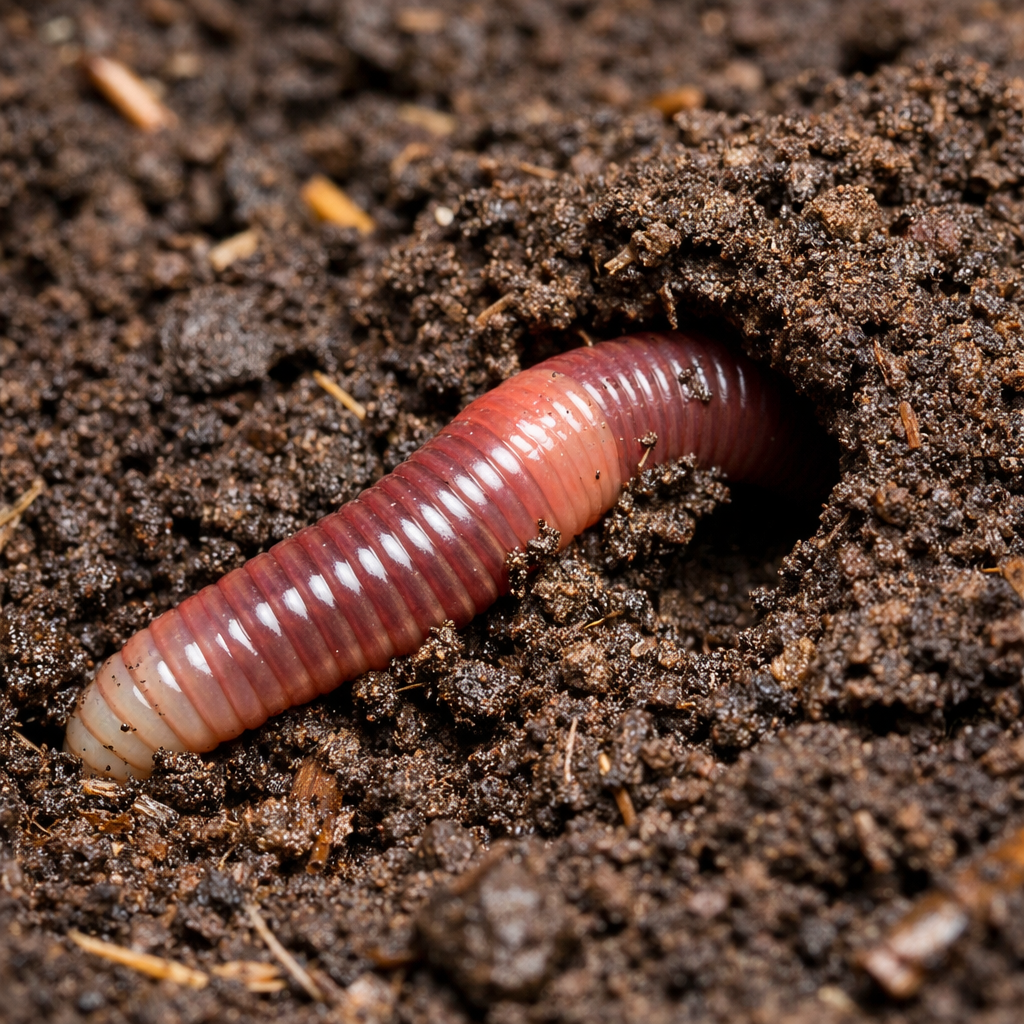
 Gardeners and lawn enthusiasts know that late summer and early fall are a great time to give their plants an extra boost before winter begins. Your worms have been busy all summer breaking down kitchen and garden scraps. Now is a great time to dig in and harvest some “black gold.”
The bottom level of your worm bin has seen the most worm action, so that’s the place to begin. If the material at that level looks like topsoil and has very few worms, then it’s ready to be used. (If you still see some eggshells or other hard materials, that’s ok, you can pick them out.) Depending on how busy your worms have been, what you are seeing may be vermicompost or it may be straight worm castings:
- If you have pure worm castings, the color and texture will be crumbly and rounded throughout.
- If you have vermicompost, the color may be evenly dark, but the texture will vary.
Both are filled with nutrients for your plants. Those nutrients are easy for your plants to absorb and yet so stable that they may be available for as long as five years! In addition, neither will burn your plants.
There are, however, some important differences between worm castings and vermicompost. Castings are straight worm manure, while vermicompost has some bacterially processed compost as well. The nutrients in castings, including salts, are more concentrated than they are in vermicompost. Therefore, you can and should use pure castings more sparingly than vermicompost. Also, castings tend to dry out more quickly than vermicompost, so if you use them as a top dressing, you’ll need to water to prevent a crust from forming.
Ways to Fertilize with Worms
You may already know that you can simply spread both vermicompost and worm castings as a nutrient-rich top dressing or add them to potting soil. But there is also a way your worm bin can make gallons and gallons of fertilizer—enough to treat a good sized lawn or a collection of fruit trees! The secret to getting the most mileage from a small worm bin is brewing up a batch of worm tea.
Worm tea is not the liquid that drains from the bottom of the bin. That is properly called “worm leachate.” True worm tea is actually cultured or brewed, but don’t worry, it’s easy to do. Here’s what you’ll need:
- worm castings, about a pound
- 10 gallons water (if your water is chlorinated, let it sit for 24 hours before using)
- a fine mesh bag or nylon stockings or large sock with no holes and string to hold it closed
- 1 Tbsp organic molasses (or other simple sugar, to feed the microbes)
- a bubbler (the kind used in an aquarium)
- 5 gallon bucket
Fill the mesh bag (or stocking/sock substitute) with worm castings and close it up securely. This is your tea bag that you submerge in the 5 gallon bucket of water. Add the molasses and submerge the bubbler, to make sure everything stays aerobic. (Anaerobic bacteria smells bad and generally doesn’t benefit your plants.)
Let it bubble away for 24 hours. After 24 hours have passed, remove the bubbler and mesh bag and dilute the tea concentrate with another 5 gallons of water. Use right away.
You can use the liquid to water special plants or spray it over your entire lawn and garden. (If you use a sprayer, be sure to strain the liquid well so no particles clog the nozzle.) The best time to spray is mid to late afternoon, after the heat of the day has passed.
Try it, your plants will love it!
If you need more vemicomposting worms, check out our selection of high-quality red wigglers — guaranteed to arrive alive.

One thought on “Free Fall Fertilizer From Your Worm Bin”
Hello,
I recently purchased a 100 worm mix from you and they arrived alive and look happy in my bin. :-) The question I have is, can they be used to finish the compost? I previously had about 30 lbs of compost curing in the tumbler and now it is dark colored moist soil-like (but in clumps). I think this condition of my compost is ok but can be better, so I put worms there. I layered the shredded paper at the very bottom, then layer of shredded leaves, then layer of this compost, then again leaves and compost. I then bury the food scraps and tossed little water in to refresh everything. They look like they buried there and occasionally I see some crawling on the sides of the inside of the bin. I made holes in the top, sides and in the bottom of the bin for air and excess water drainage. Will this benefit and help me finish the compost?
Thanks