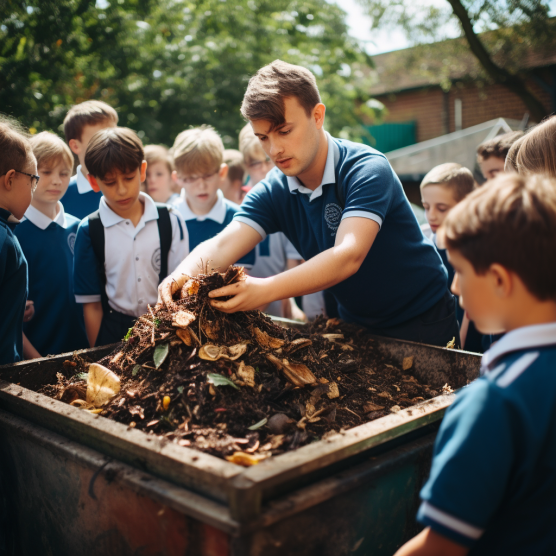
Many a man is turning back to natural composting ways. Organic materials help create valuable soil amendments and can be used to improve plant growth, structure, and fertility.
Composting is easy to do, cost-effective, and requires little space. 
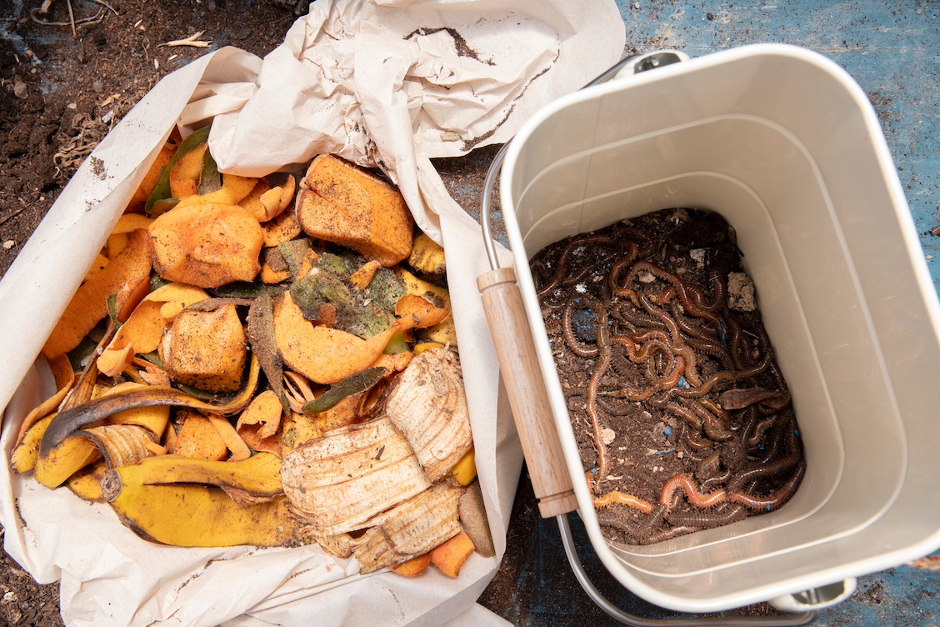
Worm composting reduces household waste significantly by repurposing kitchen and garden waste. It is an environmentally friendly resource and can benefit surrounding wildlife habitats if prepared correctly.
Composting worms, also known as red wigglers or redworms, can speed up composting. Adding these creatures to your worm bin can speed up composting and create excellent fertilizer for your garden. However, new worm bin owners tend to make mistakes along the way.
Composting With Worms
Composting worms are remarkable creatures that can turn your kitchen scraps into nutrient-rich and crumbly soil. Many people have opted for this natural way of disposing of their garbage to save resources and reduce waste going into landfills. However, beginners often need more knowledge or information to make mistakes.
A successful worm composting bin requires careful watching for potential pitfalls and obstacles. Whether you’re just starting worm composting or considering taking it up as an activity, gaining knowledge and avoiding costly mistakes is essential.
In this article, we’ll look at five common mistakes people make when beginning worm composting and how to avoid them. This will help you feel more confident when setting up your first worm composting system.
Benefits of Worm Composting
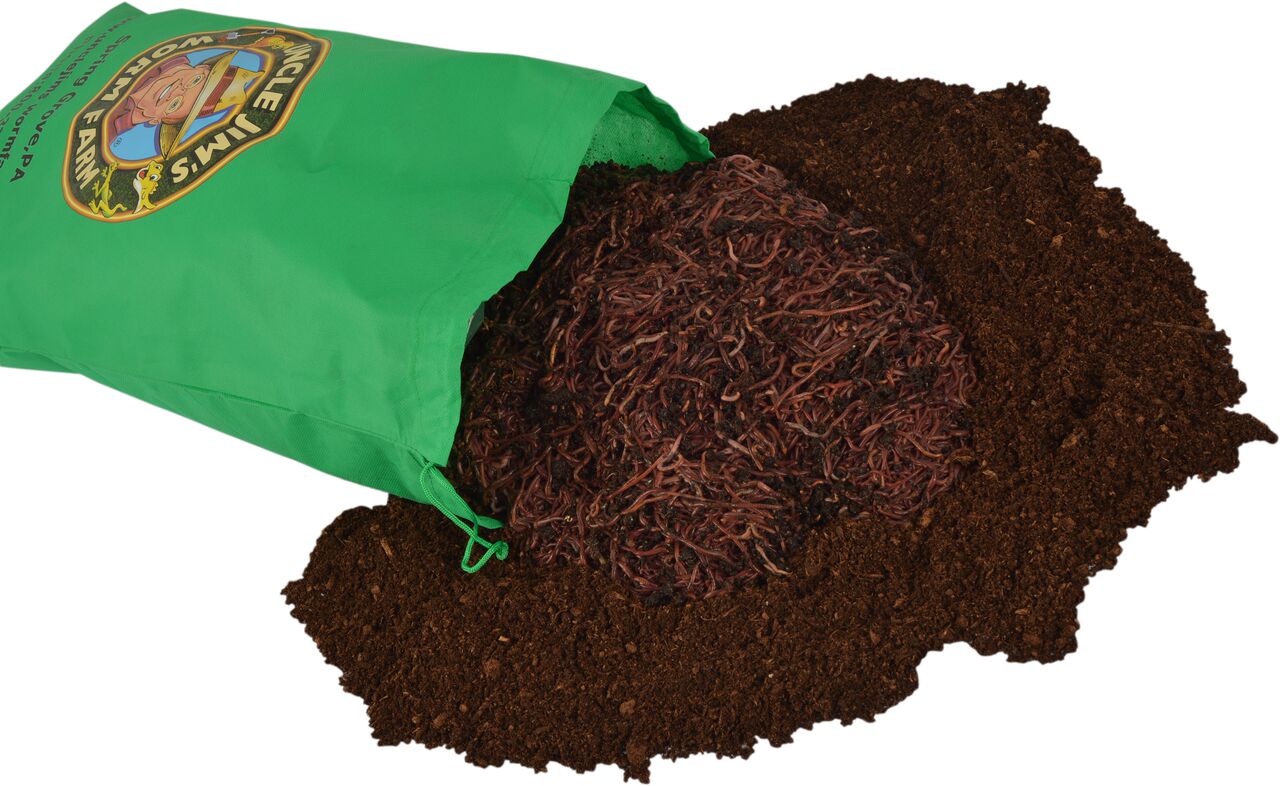
Worm composting is an effective and natural way to reduce waste, create nutrient-rich soil and fertilize your garden. There are many benefits to this composting that are more than just having an organic way to dispose of domestic food scraps.
- Using worms to break down organic material to create nutrient-rich compost is a great way to reduce the waste going into landfills or incinerated.
- You can help naturally increase biodiversity by creating the nutrient-rish soil amendment, consequently improving air and water quality.
- Worm composting saves time and money as it is easy to set up and doesn’t require much space or effort to maintain.
Before beginning a new composting project, it is vital to know the common mistakes that can occur. Diminishing your chances for success makes little sense, so why not take some time to educate yourself and learn from other people’s errors?
Mistakes to Avoid When Starting With Worm Composting
Building a worm composting system can be simple, but maintaining your worm population and keeping your compost healthy is a delicate balance. Making mistakes is easy, especially when you’re just starting. Here are some of the most common mistakes to avoid when starting with worm composting.
Mistake #1: Overfeeding
Enthusiastic worm bin owners may do their best to reduce food scraps and create nutrient-rich fertilizer for the garden, but they can sometimes take it too far. Throwing every available debris into the bin is a surefire way to overwhelm the composting process. The wiggler worms typically used in a worm bin can only digest so much material at once.
In theory, worms can eat their weight in scraps per day. However, that number might be lower, depending on air temperature and excess moisture. A foolproof method is to feed them every 2 to 3 days.
Knowing how to avoid overfeeding compost worms can save you a lot of frustration (and cash) in the long run. Be conservative in the quantity.
Vermicomposting rookies should never start with the – eat their weight. A better ratio is to have a half-pound of organic waste scraps to one pound of worms. So six pounds of worms and three pounds of food.
Mistake #2: Wrong Foods
Worms need a healthy diet in small pieces. Whole cabbages and watermelon rind halves will take too long to break down. Items like processed food, meat scraps, salty snacks, spicy foods, oily sauces, greasy foods, yogurt, pineapple, and pineapple are also things to avoid.
The ideal diet for composting worms is non-acidic fruit and vegetable scraps:
- Grains, bread, coffee grounds, tea bags, and pasta are also fair game. Aged grass clippings, hair, and herbivore animal manure are compostable.
- Add shredded black-ink newsprint in moderation. Torn or shredded brown corrugated cardboard is acceptable.
- Clean crushed egg shells, add grit and calcium. All items should be small.
Oversized items should be cut up or run through a food processor. This reduces odor and discourages pests.
Avoid Kitchen Scraps Directly off the Table
Even if it is adequate, fresh food scraps can sometimes attract pests. Freeze your leftovers for 48 hours before adding them to the bin. This will allow them to dehydrate and mature, making them ideal for worms.
Sometimes you will add too many food scraps/larger pieces or notice fruit flies around the worm composting bin. This can mean an excess of organic matter in the soil. Adding grit and calcium to the eggshells can help balance the carbon and nitrogen ratio.
Mistake #3: Too Wet or Too Dry Composting Bedding
The over-enthusiastic worm bin owner pours gallons of water on their worms. The negligent owner lets the bin dry out. Too wet, the worms dehydrate, cannot breathe, and can’t tunnel. If they are too dry, they will suffocate.
The easiest way to check worm bin moisture levels is by picking up a handful. Squeeze it. If water comes out, it’s too wet. Worm bin bedding should have the feeling of a wrung-out sponge. The first solution is drying out a wet worm bin, but it takes time, also why make a mistake when you can avoid it?
In addition to the humidity, it is important to use appropriate bedding materials. The type of bedding you use for your worm bin is just as important as the moisture content.
You want to ensure that the fresh bedding materials are organic and biodegradable for your composting process. Popular options include shredded newspaper, sawdust, coconut coir, peat moss, and plain old dirt. Make sure to avoid anything that is chemically treated or dyed. You also want to avoid materials like pine or cedar shavings as they are too acidic for the worms.
Mistake #4: Forget to Harvest Worm Castings
Avid gardeners eagerly look forward to removing finished compost from their worm bins. The vermicompost, aka worm poop, is fresh “black gold” and the best organic fertilizer for growing plants. Gardeners mark the days until the worm castings are ready for harvesting. This organic matter helps outdoor plants thrive.
Non-gardeners typically focus on reducing trash and odor. The worm castings are a side-effect. Their worm bin fills up with worm castings. Add more trays or get a larger bin.
Harvesting finished compost means separating worm castings. You will leave bedding behind for the worms to live in. Using a screen should only take 30 to 60 minutes. Making mounds takes a day, mostly waiting time. Tray-based composting bins might only take 10 minutes.
Compost can be harvested:
- at the start and end of the growing season
- whenever it is getting full
- as needed, if the worms have been in the bin for at least three months and there are extra worm castings inside
If you have more “black gold” than you need, donate it to a local gardening project or neighbor. This potting soil acts as a natural fertilizer. You can also make concentrated worm compost tea to help out the local wildlife or start a secret project in your favorite park.
Mistake #5: Too Hot or Too Cold
Just like people, composting worms have an ideal temperature range. The worm bin and bedding help regulate the temperature. When the air temperature is below 54 degrees Fahrenheit, worms slow down. Below freezing, they can die. Above 84 degrees can cook the worms. This is important to consider if you want healthy, active worms, especially if you are considering indoor composting with worms.
For example, a garage can be a great spot to start your worm composting adventure with one worm bin. It is also essential to know how to organize the amounts of food and when to add the next bedding layer.
Monitor Air Temperature
Monitor and adjust the conditions of the worm bin to ensure that your worms are comfortable and in the required temperature range. You can use a thermometer or temperature probe to measure the air temperature inside the compartment and make any necessary adjustments.
Adding insulation, such as bubble wrap, around your worm bin can help keep it at a more consistent temperature. Placing the bin in a partially shaded spot can also help regulate the temperature.
Do you live in a climate that has temperature extremes? Bin location is the primary issue. You can mitigate some temperature hazards using ice, bin blankets, insulation, relocation, and moisture regulation.
Take Care of the Night Crawlers
Caring for composting worms is easy. The worms will do most of the work; you must provide a comfortable environment that meets their needs.
Once you get the hang of vermicomposting, you will love it! Reducing trash, saving the earth, and creating free fertilizer make worm composting worthwhile.
If you have any further questions, check out the rest of our articles or reach out. At Uncle Jim’s Worm Farm, we offer expert information about managing your vermicomposting bin, as we are the #1 supplier of composting worms in the USA.
