 Organic composting is one of the best ways in minimizing land fill accumulation. Not only that, composting food scraps from your kitchen or yard can also be a good way to recycle. This home composting process will also allow you to produce your own natural fertilizer, which can be used for your lawn or garden. It’s really easy to make and use, and is definitely packed with a load full of nutrients.
You can do your own composting at home by simply preparing the following materials: compost pile/bin, some food scraps from your kitchen (make sure that these doesn’t contain meat, poultry, or dairy stuff as not to attract unwanted pests), some grass clippings, dried leaves, sawdust, paper towels or newspaper, a pitch fork or a garden hoe.
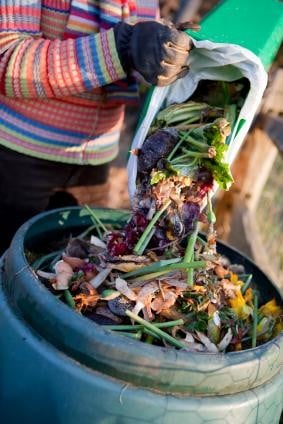
Your first step is to put your outdoor composter in a place a bit away from the house, in the shade and under shelter such as a tree, bushes, shed or overhang. After this, add then your organic scraps from the kitchen and/or lawn into the compost bin. In addition to the previously mentioned organic scraps, you can also put in organic stuff like vegetable and fruit peels, bread, coffee grounds, tea bag filters, tea leaves, and some pulled weeds (just to name a few).
Composting bins should be watered afterwards, but put in just the right amount. The contents of your bin should always be kept moist and not soggy wet. Make sure that you use water that is chlorine-free. But if you are to use tap water, then you’ll have to let the water rest in a separate container for about 24 hours, so that the chlorine will clear out. This is done so that your composts that have valuable microbes in it will not die out from the chemicals.
Also, composts should always be turned at least once a month. So, you can turn the contents of your composting bin by simply using a pitchfork or garden hoe. But if you’re already using tumbling composters for this type of project, then you can turn the compost contents at least once a week, as this actually helps speed up the decomposition process.
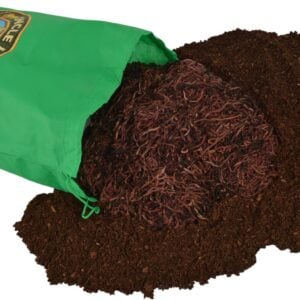
You’ll know when your compost is ready when it finally turns into a nutrient-filled and dark soil. It would also have a woodsy and earthy smell to it, much like the compost that you can get from vermicomposting. You can learn more about worm composting from our article: Handy Tips for Raising Worms. Anyway, the composting process would usually take about 2 weeks to 6 months. But this timeframe may still change depending on the compost bin that you’re using.
So as soon as your compost from your composting bin is ready, you may now start using it as a soil conditioner (helps improve your soils structure and its water retention capacity), as well as a natural fertilizer for your plants. So with the right tools and knowledge, you’ll be able to reap the fruits out of your organic composting endeavor.


