Winter can be a challenging time for our little composting champions – red wiggler worms! They play a vital role in breaking down organic waste and turning it into rich, nutrient-dense worm compost, also known as worm castings. However, they’re sensitive to harsh winters, and keeping your worm population happy and productive during this season requires extra attention.
Understanding Composting Worms
Composting worms are nature’s recyclers. They thrive on food waste and organic matter, converting it into valuable worm castings, a superfood for your garden. To ensure your worms stay active during winter, it’s essential to understand their biology and behavior.
Preparing Worm Habitats for Winter
Worms need a cozy home to stay warm during the cold months. If you’re using a worm bin, ensure it’s well-insulated and designed to minimize heat loss. Use suitable worm bedding like shredded newspaper, coconut coir, or potting soil to create a comfortable environment for your worms.
Maintain the right moisture level; composting worms prefer around 80-90 percent water in their bedding material. You can always add water or bedding material to adjust this.
Proper air holes and drainage holes in the worm bin are crucial to avoid excess moisture that can stress your worms. To shield your worms from cold air temperature, consider placing a plastic sheet over the bedding, but don’t forget to leave some gaps for air circulation.
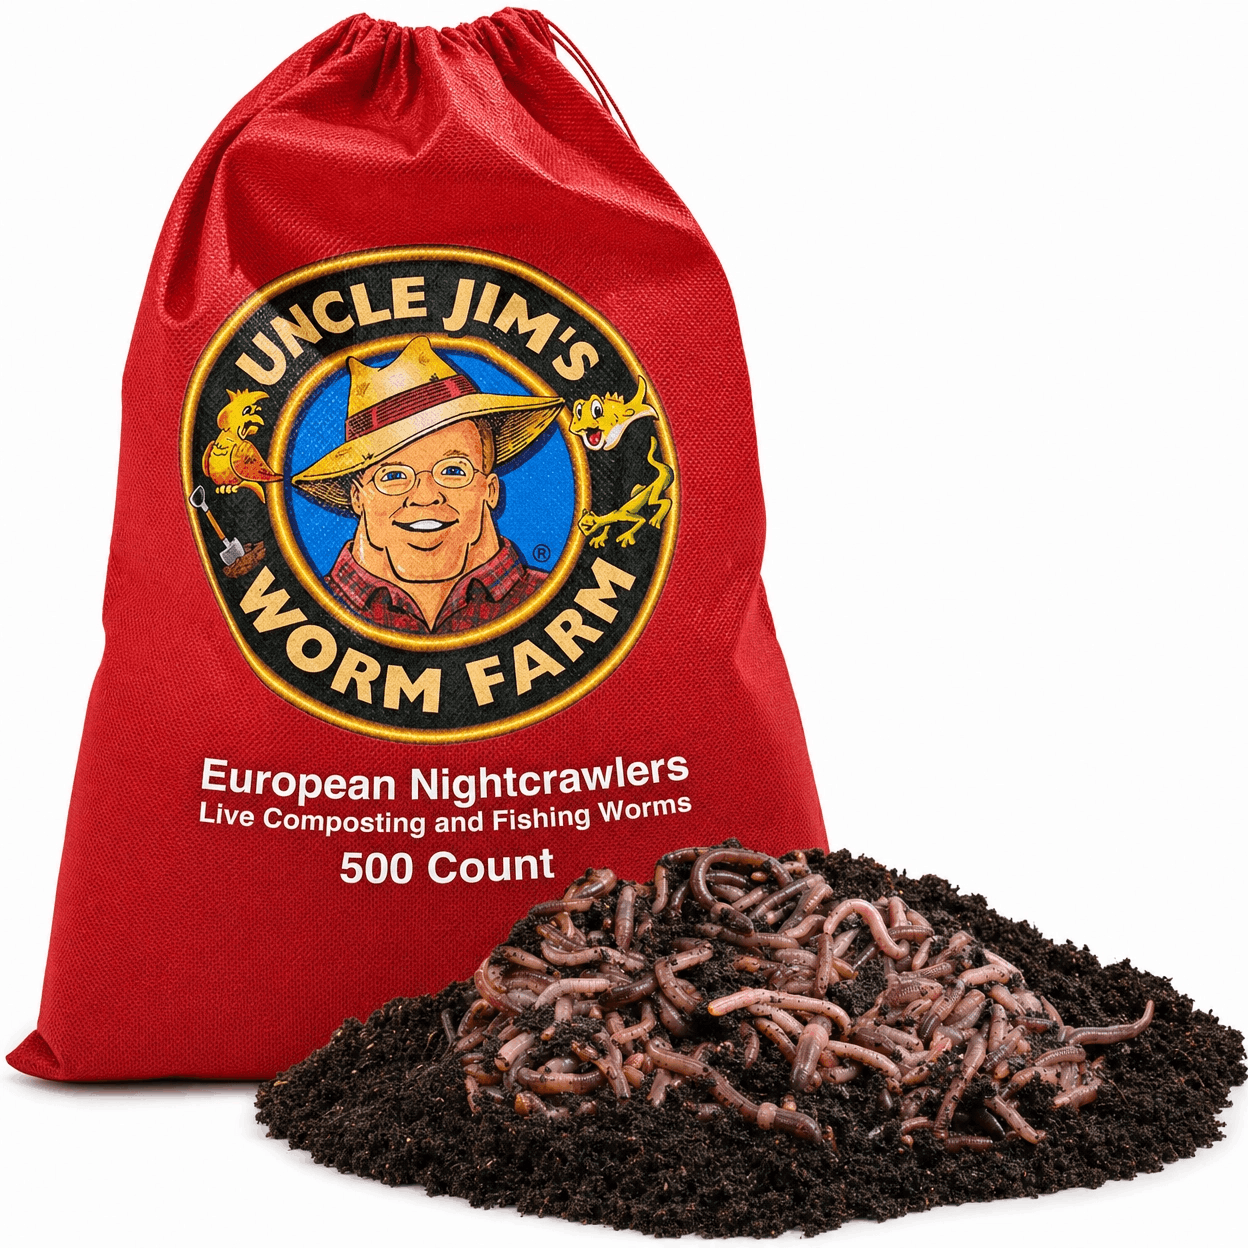
500 Premium Super Red European Nightcrawlers Live Composting Worms.
Original price was: $59.95.$49.95Current price is: $49.95. — or subscribe to save up to 15%
Add to cart
Temperature Considerations
Worms are most active and productive within a specific temperature range. For red wigglers, this ideal range is between 55°F and 77°F (13°C and 25°C). When the mercury drops below this range, worms can become sluggish or dormant.
To help maintain a constant temperature, place your worm bin in a sheltered area or insulate it with a layer of straw or worm blankets. In regions with particularly cold winters, you might need to consider moving your worm bin indoors to a more temperature-controlled area.
Where To Put Your Worm Bin in The Winter?
During those colder winter months, you’ve got several options to choose from for storing your worm bin:
- Bring It Inside: One of the coziest options is to move your worm bin indoors. Find a nice spot in your basement, garage, or even a well-ventilated closet. It’s like a warm vacation for your little wriggly friends. Just keep them away from super cold spots or drafts.
- Garage or Shed: If you’ve got a garage or shed that’s not heated, that can work too. Just bundle the bin with insulation like straw or blankets to keep the chill out. This is especially handy if you’re tight on indoor space.
- Outdoor Insulation: If indoor options are a no-go, you can still keep them outside with some extra insulation. Wrap the bin in materials like straw, leaves, or blankets to keep them toasty. But remember, this might not be ideal if you’re in an area with freezing winters.
- Heated Greenhouse: If you’re lucky enough to have a heated greenhouse, it’s like a tropical vacation for your worms. The controlled temperature in there keeps them comfy.
- DIY Worm Box: If you have outdoor space, consider making a special DIY worm box. Ensure it’s well insulated to protect your worm buddies from the cold. You can get creative with this one, like building an insulated container or digging a pit and keeping it snug.
- Worm Tower: Some folks use worm composting towers that can be partially buried underground. This keeps the temperature more stable year-round, even during the chilly months.
Your choice depends on your location, the size of your worm bin, and the spaces you’ve got. No matter where you put your bin, remember to give your worms the right conditions and shield them from the cold to keep them happy and munching through the winter.
Feeding Worms in Winter
Worms are less active in cold temperatures, so you should reduce the food you provide. Only feed them as much as they can consume in a reasonable time, usually once every two to three weeks. Keep an eye on uneaten food, and if it accumulates, reduce the amount of food you’re offering.
Worms can survive for weeks without food, and overfeeding can lead to problems like food spoilage and odors. You can continue providing them with kitchen scraps, vegetable peels, table scraps, and other suitable food sources. However, be mindful of what you feed them. Worms don’t appreciate oily or spicy foods, and too much uneaten food can lead to problems in your bin.
Consider adding crushed eggshells to provide some grit and maintain your worm’s body weight. The calcium in eggshells helps worms regulate their pH levels and aids digestion.
Protecting Worms from Winter Pests
Winter can bring unwelcome visitors to your worm bin, such as white worms and other pests. To protect your worms, practice good bin hygiene and avoid overfeeding. Pests are often attracted to excess moisture and food waste. If you spot any intruders, try to remove them manually. You can also use natural pest control solutions, like diatomaceous earth, to deter these unwanted guests.
Winter Harvest and Maintenance
While your worms may slow down in winter, you can still harvest rich worm compost. Worm castings are often found in the lower sections of the bin. To access them, gently scoop out the upper layers, leaving the worms in peace. This finished compost can be used in your garden beds, providing a nutrient-rich boost when spring arrives.
Troubleshooting Common Winter Worm Issues
Sometimes, unexpected problems may arise in your worm bin during the winter months. Look for mold, foul odors, or worms clustering together.
- Mold: If you spot mold in your worm bin, it’s usually a sign of excess moisture. To combat this, ensure your bedding material isn’t too wet and consider adding more dry bedding, like shredded newspaper or dry leaves. Make sure to maintain proper air circulation to prevent mold growth.
- Foul Odors: Unpleasant smells can indicate that your worm bin isn’t aerated enough. Stir the bedding to provide better airflow, and consider adding a layer of dry materials on top.
- Worm Clustering: When worms gather in a compact group, it’s a sign they’re seeking warmth. To prevent this, make sure the entire contents of your bin are at a comfortable temperature, and add more insulating materials like straw if needed.
- Dead Worms: Finding dead worms in your bin is not uncommon during winter, but it’s essential to address the problem. Remove any deceased worms to prevent further issues, and ensure your bin’s conditions are optimal for the living ones.
Help Your Worms Thrive During the Winter Months
Remember, your composting worms are hardworking and resilient creatures, but they do need your help to thrive during the winter months. By providing the right conditions, addressing common issues, and being mindful of their needs, you can enjoy a healthy and productive worm population year-round.
Winter shouldn’t freeze your composting efforts. With the right care and attention, your worms can continue to produce that rich, dark, and nutrient-dense worm compost, ready to enrich your garden when spring arrives.
Happy composting!
Upgrade Your Worm Farming With Our Help
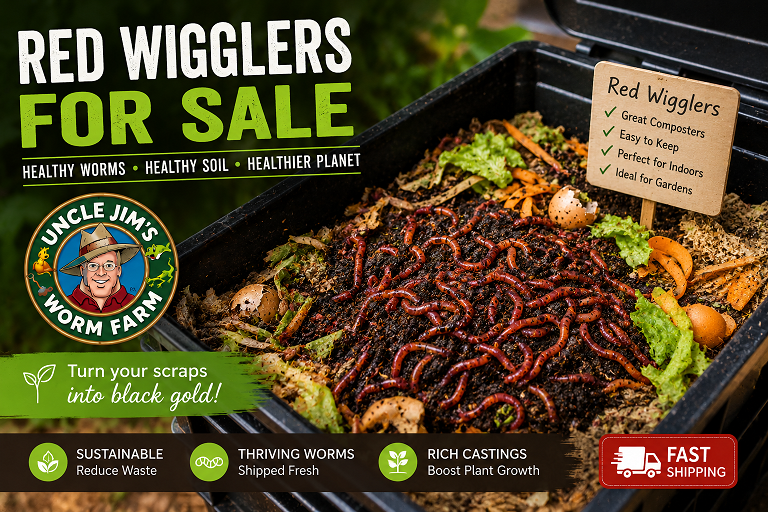
If you’re into worm farming or want to improve your composting, Uncle Jim’s Worm Farm is your go-to. We specialize in red wigglers and have everything you need, from composting worms to bins and organic fertilizer. Our goal is simple: help you create the right environment for these amazing creatures, ensuring they reproduce successfully and give you nutrient-rich compost for your garden.
Don’t wait – get your red wiggler worm kits and other products today. Boost your worm farming and reap the benefits of your garden!
FAQ
Do you have any more questions related to winter worm care? Let’s address them!
Can I use a heating pad or heat lamp to keep my worm bin warm in winter?
You can use a heating pad or heat lamp to warm your worm bin during winter. However, be cautious not to overheat the bin, as worms have a specific temperature range for optimal activity.
How to control the temperature in the worm bin?
To control the temperature in your worm bin, use a thermometer to monitor it regularly. Adjust the bin’s location, insulation, and ventilation as needed to maintain the temperature within the ideal range for composting worms, typically between 55°F and 77°F (13°C and 25°C).
What happens if worms get too cold?
If worms are exposed to extremely cold temperatures, they can become sluggish, and their metabolic activity may slow. Prolonged exposure to freezing conditions can even lead to the death of composting worms.
Do worms reproduce in the winter?
Yes, composting worms can reproduce in the winter by laying cocoons. These cocoons, which contain worm eggs, can survive in colder temperatures and hatch when conditions become more favorable, such as in spring or when kept in a suitable environment within the worm bin.