Worm composting also known as vermicomposting is the use of earthworms to convert organic waste into fertilizer. If you are already an avid composter then transitioning over to worm composting should be a relatively easy task. But even if you have never heard the term vermicomposting and barely understand composting, you can still vermicompost! Just follow along to see how easy it really can be!
In order to get started composting with worms you will need a few things:
- bin/container/composter/enclosed space
- bedding
- moisture/proper PH
- temperature control
- compostable matter
- worms
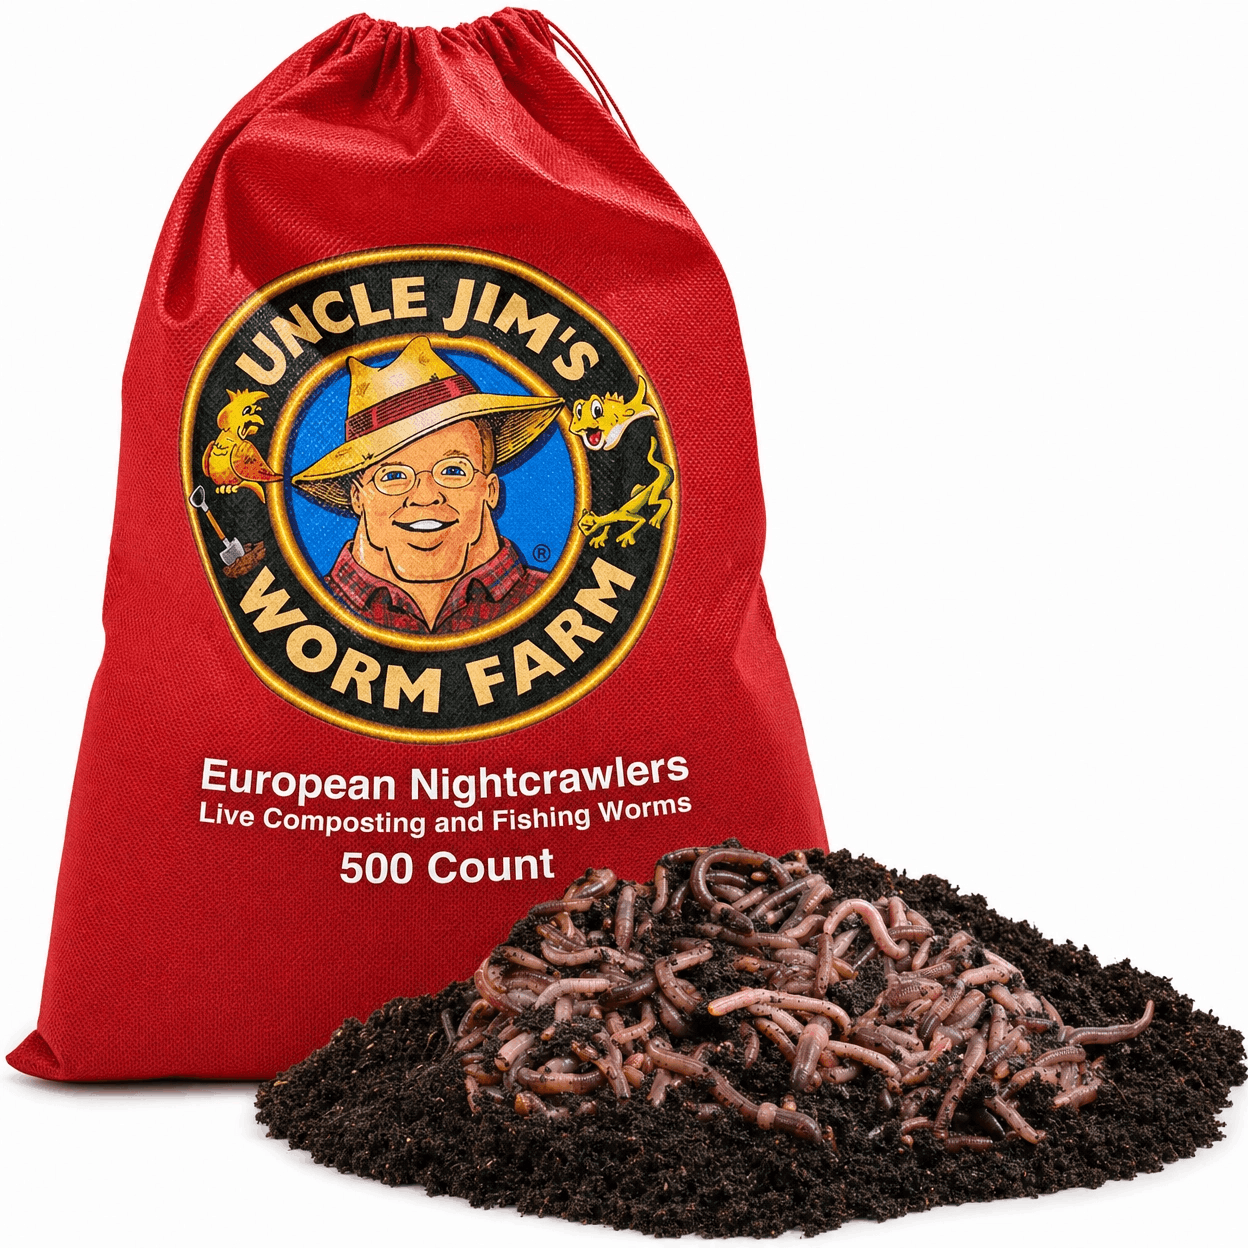
500 Premium Super Red European Nightcrawlers Live Composting Worms. — Uncle Jim’s #1 Recommended Worm.
Original price was: $59.95.$49.95Current price is: $49.95. — or subscribe to save up to 15%
Add to cart
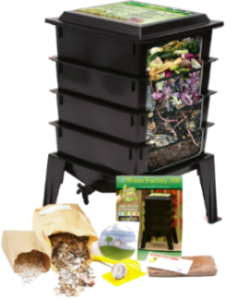
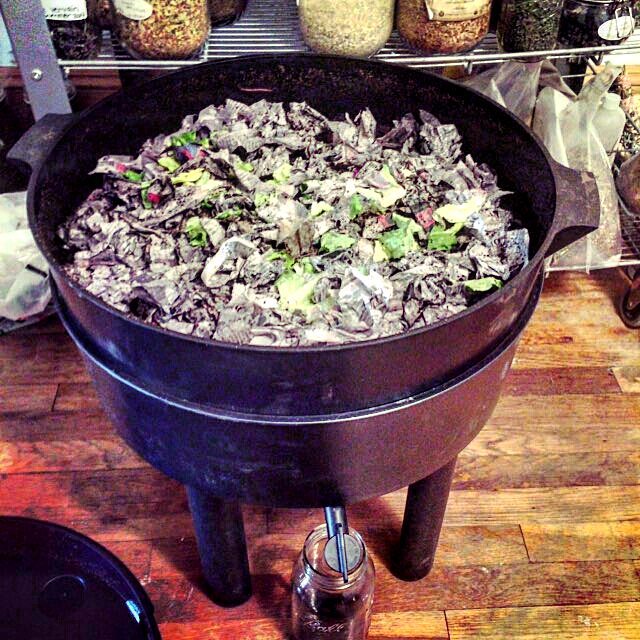
The first thing you will want to figure out when it comes to worm composting is where you are going to do all of this. Many people will start off with a simple plastic bin which you can pretty much get at any retail or hardware store. You will want to drill holes in the bin for proper ventilation and drainage. The bin can range in size based off your composting needs but should be a depth of at least 6 inches for the worms. People have also used containers such as old bathtubs or freezers. However, if you have the money and would like a simple composter for your worms to do their thing you can invest in a composter specifically designed for vermicomposting. Popular composters include the Worm Factory 360 and the Can-O-Worms. Both of which are available through our site. These composters are great because they come with everything you need to set up your composter as well as detailed instructions. And lastly if you live in a relatively mild climate and are able to keep the compost between 40 and 86 degrees F year round then you can have an outdoor compost pile or heap. This pile should, however, be enclosed because you will most likely be feeding these composting worms food waste and you do not want to attract any unwanted pests.
From the moment you set up your worm farm, the most important thing to do is make sure that the right kind of bedding material is used. Good bedding must be:
- A neutral PH
- Free of any sharp or abrasive things that can harm the worms’ sensitive skin
- Retain moisture, but not too much
Shredded paper as bedding - Allow oxygen flow
There are a variety of different beddings you can choose from when it comes to starting your vermicomposting system. Many people like to start with peat moss which is an excellent choice for bedding. Peat moss is rather dry though so make sure you moisten it to properly to suit the worms. Other popular beddings include wood chips, shredded brown cardboard, shredded paper, shredded newspaper, horse or cow manure (prefe
rably aged) ,coco coir, straw, hay, fall leaves, and/or other yard waste. The key to maintaining a healthy worm bin isn’t choosing just one “best” bedding material, it’s using a variety of materials and adding them to your worm bin often. Most vermicomposters could do a little better at adding new bedding to their worm bins more frequently. When the bedding has reached desirable conditions, the worms will thrive and production will soar. Be attentive to maintaining the proper bedding and your red worms will be more than happy to compost away!
Moisture is extremely crucial when it comes to your worm composting system. Remember worms are a living thing and do require to be kept hydrated or at least have a properly hydrated living environment. The rule of the thumb is you want your bedding or entire compost to be damp like a wet sponge. The compost should not be sopping wet. Like Goldilocks, their bed needs to be just the right damp. Once and awhile, you need to fluff up the bedding to keep it from compacting and stinking. Also, maintaining a neutral PH in your vermicompost is essential and is acceptable between 5 and 9 with 7 being where you want to be. You can maintain the proper PH level by making smart bedding decisions as well as smart composting decisions. You will come to find that certain bedding as well as certain composting material will effect the PH of your compost. If you are ever concerned about the PH level of you vermicompost you can pick up a PH meter at you local hardware store at a relatively low cost.
Unlike composting where heat is always a good thing because it will break down the matter quicker. The same is not true when it comes to worm composting. Worms, again being a living creature, must live in a relatively temperature controlled environment, and they will do just fine between 40 and 86 degrees Fahrenheit. When in this temperature range, the worms will continue to compost and breed. Composting and more worms, who could ask for more?!
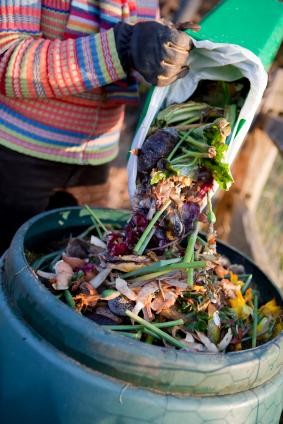
Now let’s talk about what these worms are capable of converting into precious organic fertilizer for you! You can start feeding your red worms food scraps such as fruit and vegetable peels, pulverized egg shells, tea bags and coffee grounds. Avoid meat scraps, bones, fish, leftover dairy products and oily foods since these will make your compost pile smell as well as attract flies and rodents. Experts are divided on whether pasta and grains should be tossed into the compost or thrown away in regular garbage can. You will notice right away the amount of waste that is no longer going in your trash can. You may now be in dire need of a kitchen compost collector! When it comes to the yard, you can toss in grass clipping, raked leaves and any other organic yard waste you may have attained. You can also vermicompost animal manure. Some of the best manure for vermicomposting include horse, cow or rabbit manure. But please note, for your safety and those that eat from your garden that if you are composting manure from animals that eat high levels of animal protein like dogs, the fertilizer shouldn’t be used in your garden to make sure you aren’t spreading disease or parasites.
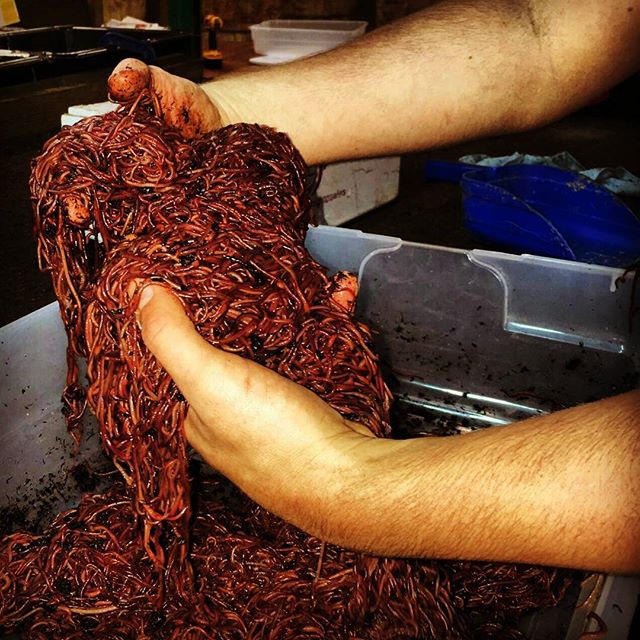
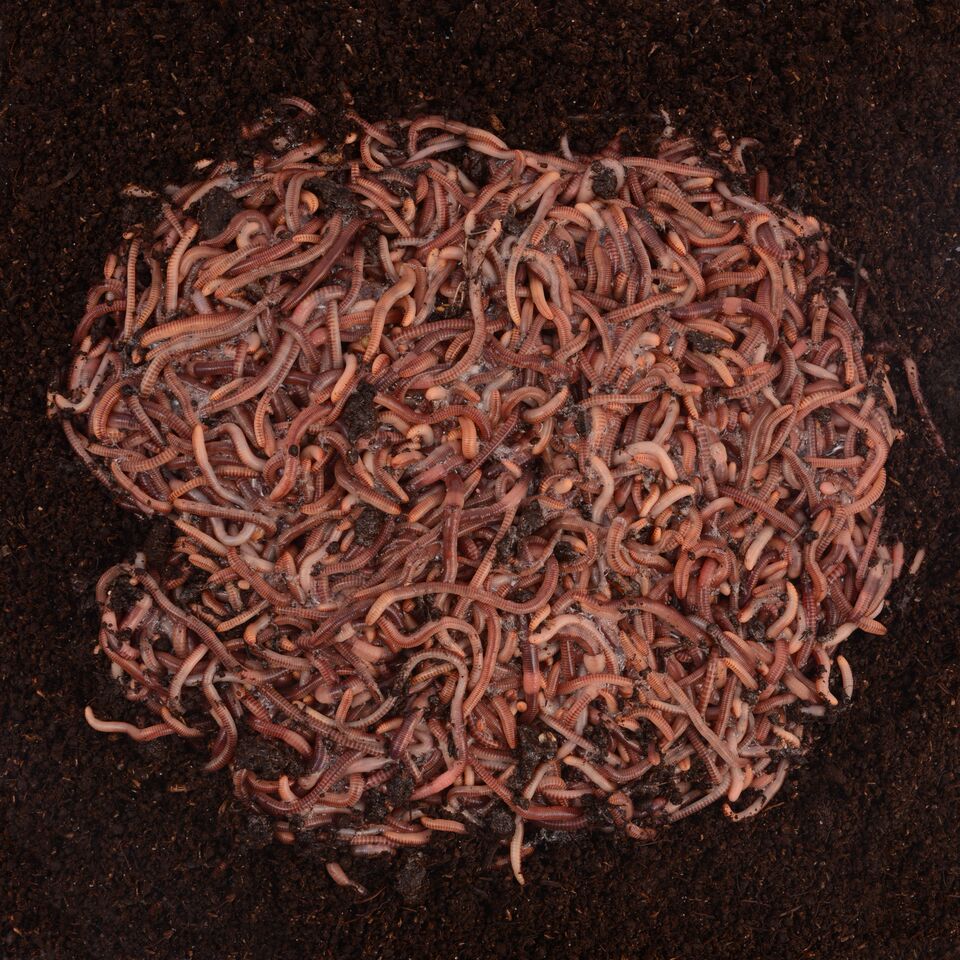
And we save the best for last, worms! What is vermicomposting without the worms?! First, you need to choose the correct worm. Not all worms were created equal after all. The Red Wiggler (Eisenia fetida) is known as the composting champion. These red worms will compost their own body weight daily and will double in population every 90 days! They truly are nature’s little wonder workers and are the go-to worm when it comes to vermicomposting. The Red Wiggler is excellent for indoor use because they can live in relatively shallow containers that you might find in most indoor composting systems. However, if you are looking for an equally
good composter but slightly heartier worm you can go with the European Night Crawler, or as Uncle Jim likes to call them the ‘Super Red’. These worms are excellent for outdoor composting because they burrow deeper into the pile and can also withstand harsher climates. The European Night Crawler is also great in the lawn and garden and makes an excellent fishing worm.
So now do you believe me that worm composting is an easy feat? You can get a lot of benefits from worm composting, and when you compost with these soil creatures you are also helping preserve the earth for future generations to experience. Earthworm composting actually aids in reducing the amount of trash that gets accumulated in landfills. So instead of leaving the garbage to create and release harmful gases into the air, or deposit leaks to nearby water bodies give your food scraps and yard waste to the worms! Not only will you be serving hungry worms with organic food, you’ll also be doing your part to save the Earth from further environmental pollution! So start worm composting today to save the earth for tomorrow!