Red worms composting has been one of several composting methods that are being widely used by earth enthusiasts today. Other than the profit ventures that one can also tap into when vermicomposting, this natural process can certainly help recycle daily household waste on a continual level. It can also be utilized by people who have space restrictions (can be favorable for people who own houses with a yard space and for those who have none like apartment dwellers), so it’s that flexible to maintain and have around.
Setting-up a Red Worms Farm
Before you can provide additional supplement to your organic garden (in this manner with the cultivation and use of worm castings fertilizer), you must first set-up a home for your red worms (make sure to place their bin where they’re away from direct sunlight – room temperature is ideal). You’ll need a worm bin (a container that can either be made out of wood or plastic), your supply of worms (you can start with about 2,000 red wigglers), some organic bedding materials (you can go with some presoaked newspaper strips with some dead leaves), and of course some worm food (cut pieces of kitchen and yard scraps).
Drilled holes on the worm bin
A conducive environment for your red worms would be a place where there’s enough moisture to go around and where oxygen is abundant. You can provide both for your red composting worms by drilling holes around the compost bin. You’ll need to drill evenly spaced holes near the top surface and by the base of the composter (you may use the 1/4” or 1/16” drill bits for this set-up). The top holes will serve as air passageways, while the ones on the bottom will take care of the drainage (holes for which excess water can be drained out of).
Worm bedding composition and food scraps
You’ll need to fill your worm bin with moist bedding materials up to about ¾ full. Make sure that the worm bed is moist but not soaking wet. A damp consistency is what you should always look out for rather than have both your compost materials and red worms swimming in a puddle of water. And by keeping things moist inside the bin (like that of a wrung-out sponge), you’ll be able to prevent your worms from drowning, and for organic debris to go spoiled. Take note that worms actually need to be in damp surroundings always. They rely on this essential for them to be able to breathe (all earthworm types breath through their skin since they’re born without lungs). You’ll also need to bury some of your food scraps into the bedding so that the worms will be encouraged to burrow towards these, and to aerate the compost system.
Harvesting your red worms compost
Red wiggler worms are voracious eaters. So you won’t be surprised that in less than 2 to 3 months, the worm bedding and the food scraps would have already been converted to red wiggler compost. Now the next step is to harvest all of these. The quickest way that you can do this without having to disturb the worms is to do a form of segregation. Place the worm castings on one side of the worm composter, while new bedding materials are being placed on the other side. Sooner or later, your worms will be able to sense a fresh supply of bedding and food scraps, and they’ll be compelled to move out of the finished compost. Eventually, your red worms composting worms will transfer to the other side, leaving you with just their castings.
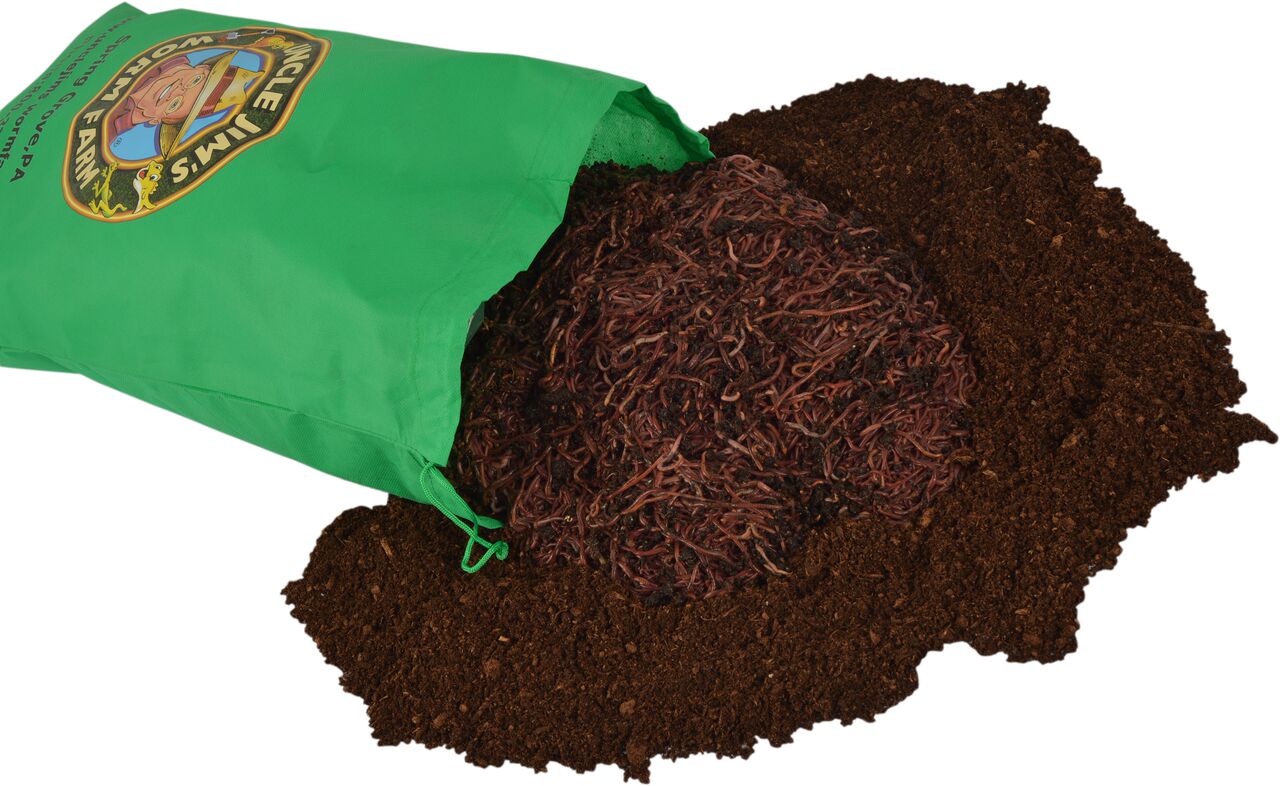
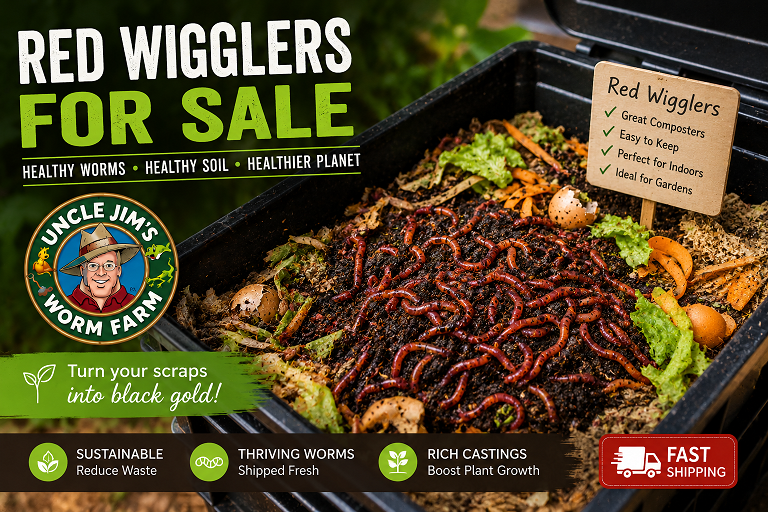
Uncle Jim’s recommends the 1000 Red Wigglers
If you’re looking for the lowest priced composting worms on the net, then you’ve come to the right place! Uncle Jim’s guarantees to give you nothing but high-quality and healthy live Red Wiggler Worms that will be great for any composting venture. Order 1,000 Red Wigglers today, and get yours shipped with many more interesting returns!
To know more about the product, check the 1000 Red Wigglers here: