


Quick Summary: As the weather cools, your worm bin needs more than just a cozy spot — it needs a strategic transition plan. This fall prep guide covers how to adjust bedding, feeding, insulation, and moisture control to keep your worms happy and composting as the seasons change.
Why Fall is a Critical Time for Worm Composting
When temperatures begin to dip in late September and October, your composting worms start to experience stress — especially if your bin is outdoors or in an uninsulated area. A few degrees too cold and reproduction slows; drop too far, and you risk losing your entire colony.
That’s why now is the perfect time to transition your worm bin. Done right, your red wigglers (Eisenia fetida) will keep converting food waste into black gold even into the colder months.
1. Assess the Current State of Your Worm Bin
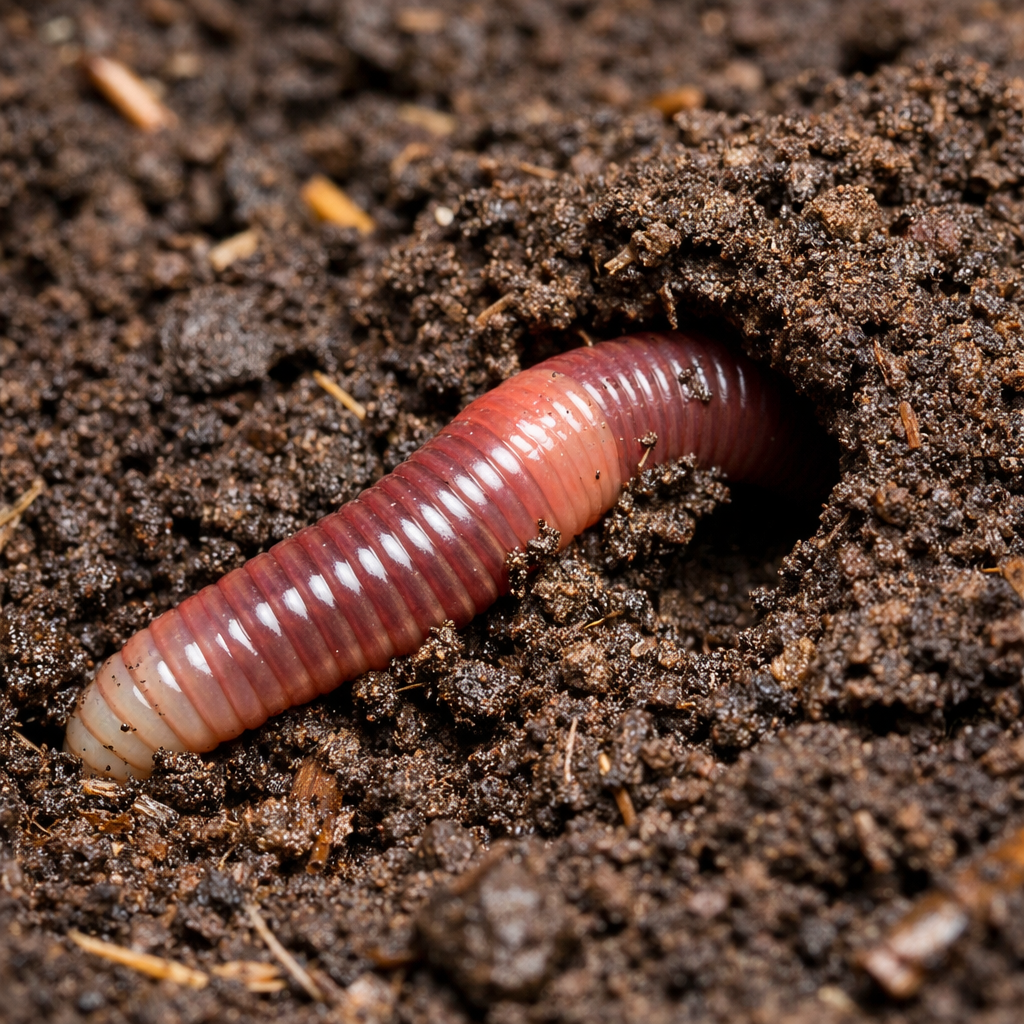
Start your fall prep by checking in on these basics:
- Moisture Level: Bedding should feel like a wrung-out sponge. If it’s soggy from rain or humidity, add dry shredded cardboard or coconut coir.
- Worm Activity: Worms should be active and near the surface. If they’re hiding deep, the bin may be too warm or too dry.
- Castings Harvest: If your bin is nearly full, harvest worm castings now. Here’s our full guide to harvesting castings.
2. Add Insulation to Maintain Temperature
Worms thrive between 55–77°F. As nights cool, insulation becomes essential.
Simple Ways to Insulate Your Worm Bin:
- Move the bin: Relocate outdoor bins to a garage, shed, or covered porch.
- Use straw or leaves: Surround the bin with straw bales or bagged leaves for natural insulation.
- Install foam panels: Attach rigid foam board around the bin (great for wooden DIY bins).
- Worm blanket: Place a breathable cloth or worm blanket directly over the bedding to retain warmth.
Browse our worm composting kits – some include thermal-ready worm bins perfect for year-round use.
3. Switch to Cold-Weather Feeding Strategy
As temps drop, worms eat slower and produce less castings. Help them out by changing your food routine:
- Smaller portions: Avoid overfeeding. Uneaten food may mold in cooler bins.
- Pre-chopped food: Smaller pieces decompose faster, even in the cold.
- Avoid cold food: Don’t throw frozen scraps into the bin. Let them thaw first.
- Add grit: A sprinkle of ground eggshells or coffee grounds helps digestion.
Read: What to Feed Composting Worms (And What to Avoid)
4. Refresh the Bedding (and Use Fall Leaves!)
Fall is the best time to add carbon-rich bedding:
- Shredded leaves: Collect dry, brown leaves and shred them (avoid glossy or moldy leaves).
- Cardboard & paper: Unprinted paper towels, egg cartons, or office paper work great.
- Coco coir: A moisture-balancing base for any bedding mix.
Make a bedding mix that’s 3–4 inches thick to help regulate moisture and temperature. Tip: Mix in old castings to introduce beneficial microbes.
5. Prepare for Rain & Moisture Control
Fall can bring unpredictable weather. Protect your bin by:
- Elevating outdoor bins: Set on bricks or pallets to improve drainage.
- Covering the top: Use a breathable tarp to prevent flooding while still allowing airflow.
- Drilling drainage holes: If your bin doesn’t have them, now’s the time!
6. Decide: Outdoor or Indoor Worm Bin?
If your region dips below freezing, consider bringing your bin inside. Ideal spots:
- Basements or utility rooms
- Heated garages
- Under kitchen sinks (for small bins)
Need help setting up an indoor system? Check out our beginner’s worm bin setup guide.
7. Keep an Eye on Pests & Mold
Cooler bins may attract mites or mold if conditions get too damp. Prevent issues by:
- Keeping bedding light and fluffy
- Adding a layer of dry bedding on top
- Feeding less frequently
More help: Worm Bin Pest Control: How to Get Rid of Fruit Flies, Ants & Mites
What’s Next?
By prepping your worm bin for fall now, you’re ensuring a healthy, productive colony that can last all winter long. If you’re thinking ahead to indoor systems, cold-weather composting, or bulk orders of bedding, we’re here to help.
About the Author
Jim Shaw is the founder of Uncle Jim’s Worm Farm, North America’s leading supplier of composting worms and worm farming supplies. With 40+ years of vermiculture experience, Jim is a trusted voice in sustainable gardening and composting education. Meet the Uncle Jim’s team.
Helpful External Resources & Further Reading
For deeper insights into cold‑weather vermiculture, the University of Minnesota Extension has a solid guide on vermicomposting basics and temperature management. Their extension content includes practical tips for composters in northern climates that apply to fall transitions as well.
Also, if you’re troubleshooting moisture and airflow issues, the U.S. Environmental Protection Agency’s composting resource page provides a helpful overview of home composting principles that are relevant for vermicompost bin management — especially regarding drainage, aeration, and maintaining a balanced carbon-to-nitrogen ratio.


4 thoughts on “Fall Prepping: How to Transition Your Worm Bin from Summer to Cool Weather”
This is coming on my fourth winter in Vermont with worms. I wish I could start an indoor compost with the bins I bought from you. But the drain flies! They were awful for two winters and last year we just couldn’t bear to run an indoor compost–and so my outdoor colony died.
Does anyone have advice for preventing drain flies in my indoor compost? I didn’t see an article about them.
Love my wigglers and want to bring them in.
Hello Ruth;
Fungus gnats are hard to get rid of once they have established themselves in the worm bin. They love the moisture, and food and usually the castings provide the perfect breeding ground. If they are just starting, you can use a shop vac or hose vacuum to suck the gnats out of the bin, that will take out the larger gnats. Also sticky traps work well. One other way is to add some dry materials to the bin to absorb some of the moisture and then sprinkle a little Diatomaceous Earth to the top of the bed and allow that to sit for a few days. This will take care of many of them. Do not use too much DE as it can negatively affect the worms if too much is added but a light dusting is fine.
Uncle Jim’s Worm Farm
I find your artical dry interesting.
Hi Thomas,
Thank you for taking the time to read the article and for your feedback.
We are glad you found the information interesting! If you have any specific questions about fall prep, insulation, or feeding strategies for your worm bin, please let us know.
Happy Composting!
— The Uncle Jim’s Worm Farm Team